All Posts By

SportsGarage

Changing the World by Bike

We sat down with World Ride founder Julie Cornelius to learn how your next mountain bike trip has the power to change the world.

If you’ve been following along with us for awhile now, chances are you’ve heard of World Ride. Perhaps you attended the SG-sponsored Pivot Cycles Sunset Shred that benefited World Ride, or have been lucky to see one of their movie nights at your local bike shop. If not, let us introduce this female-led nonprofit.

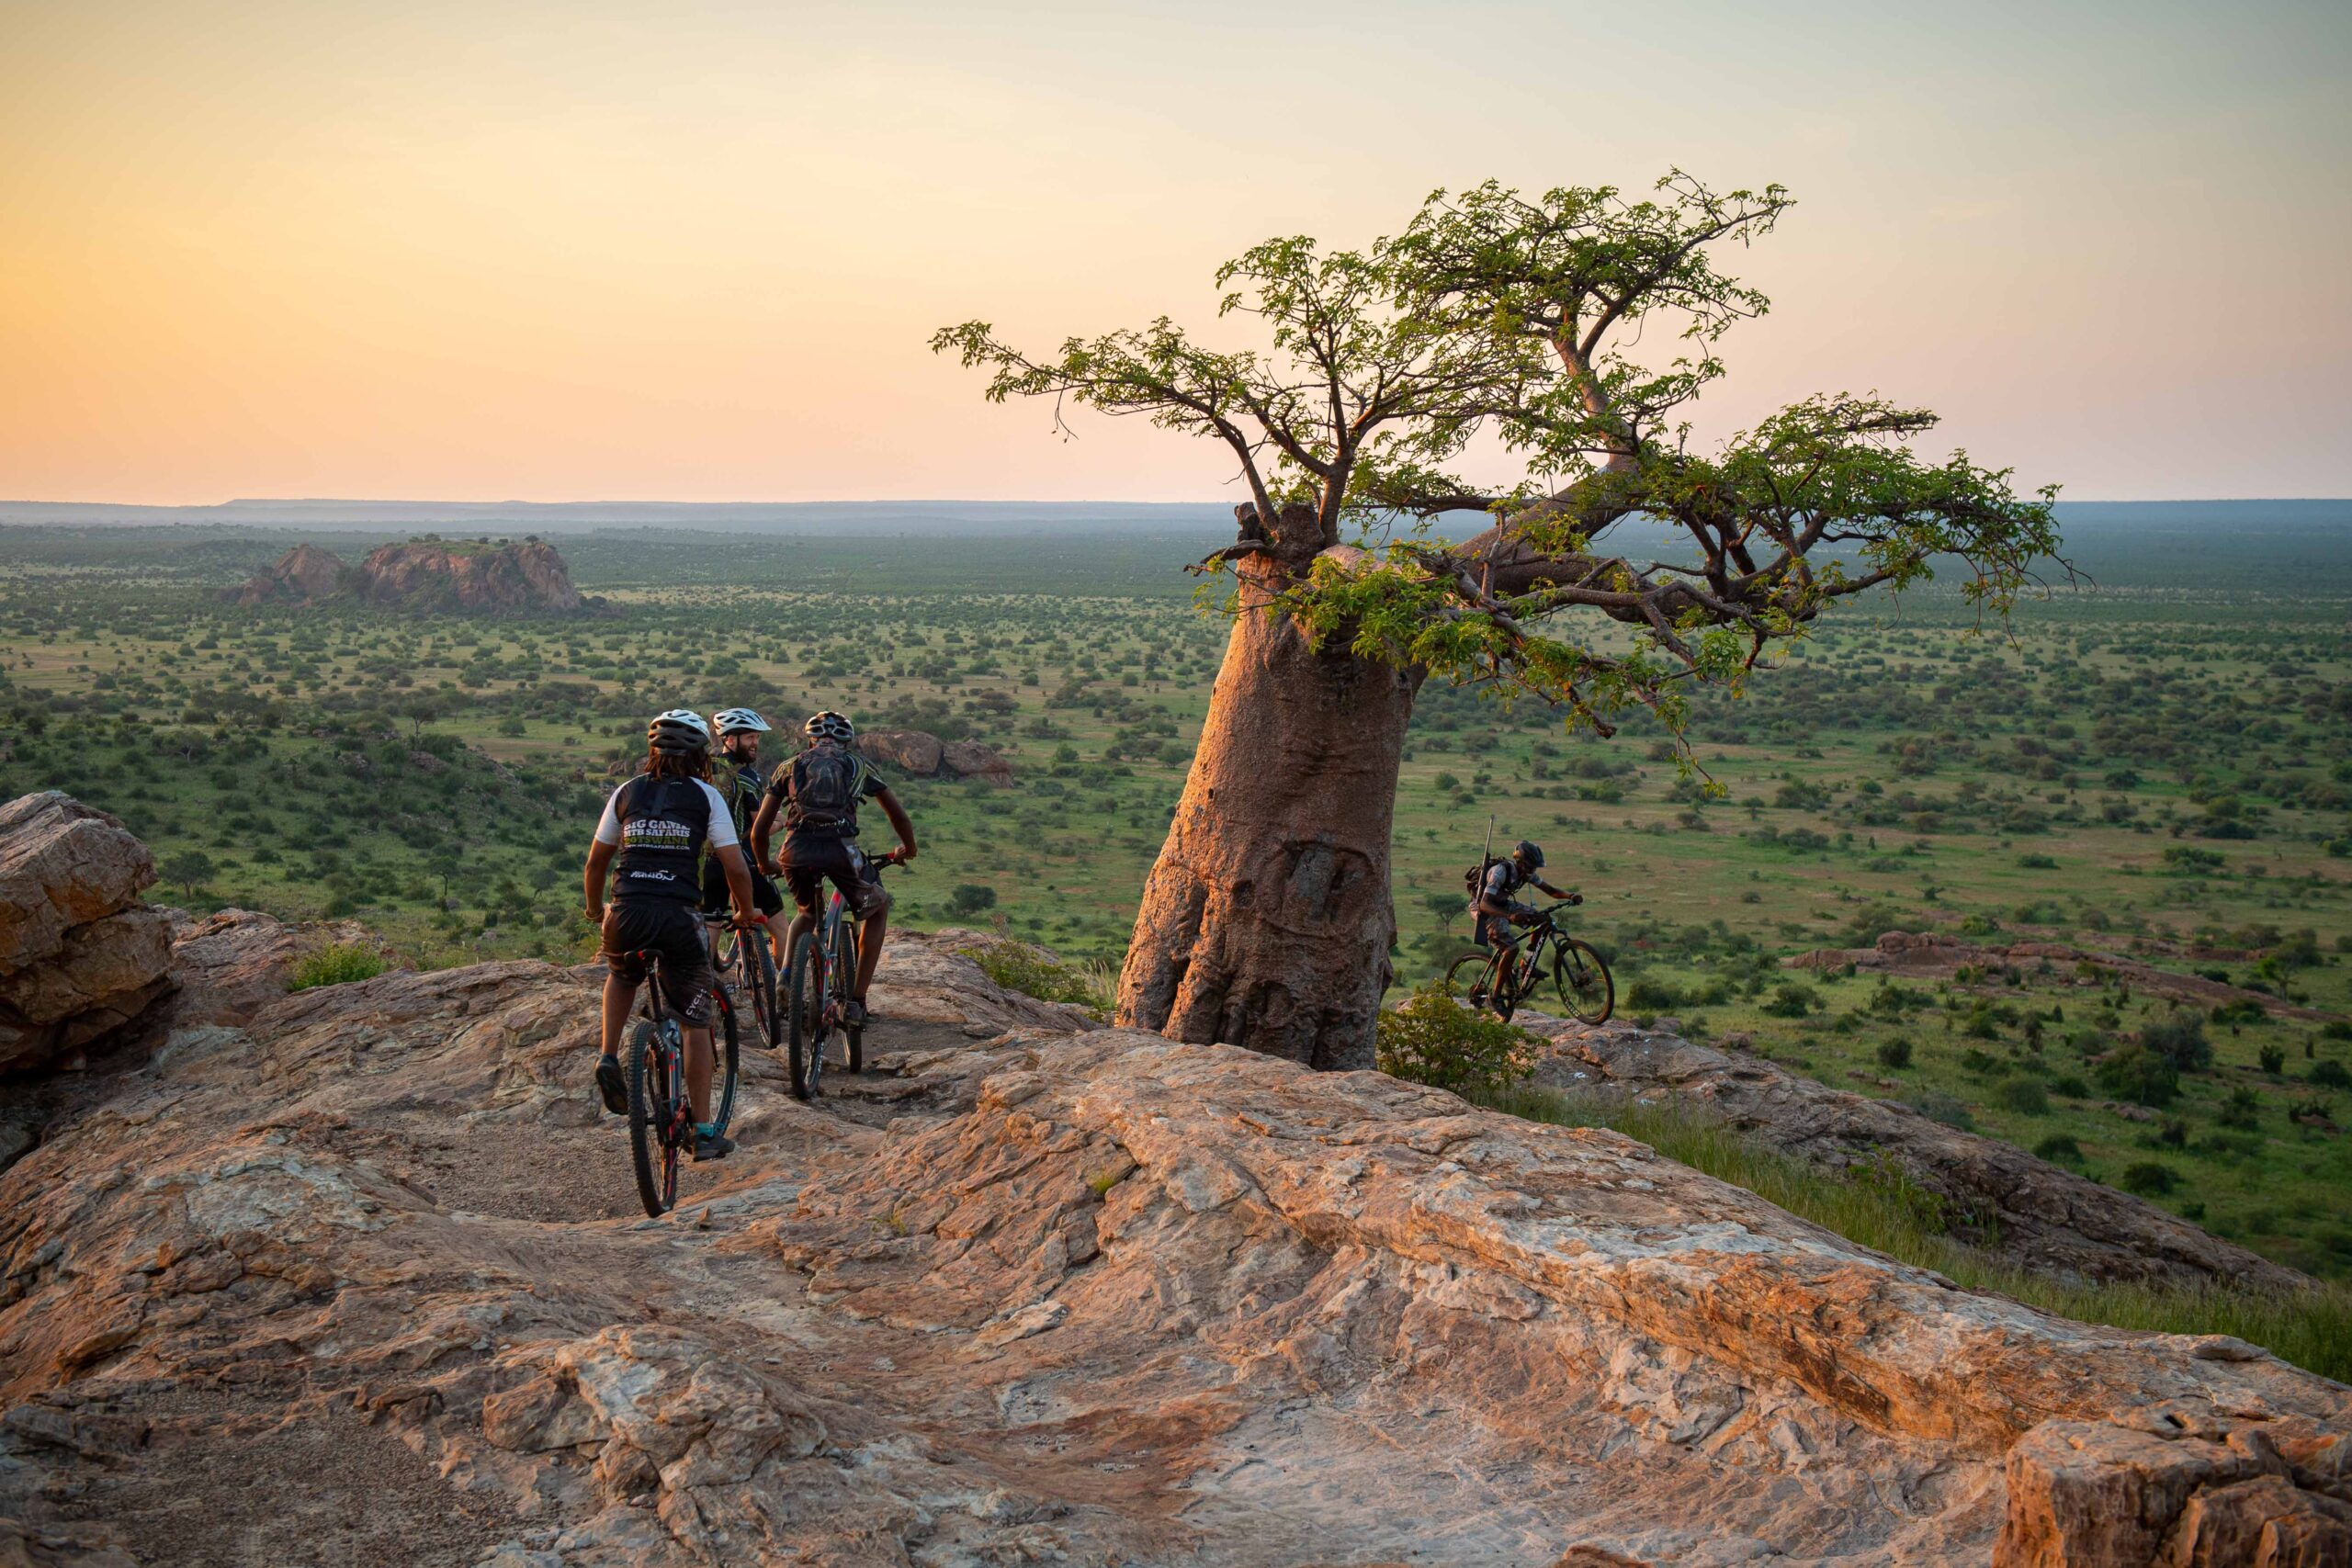
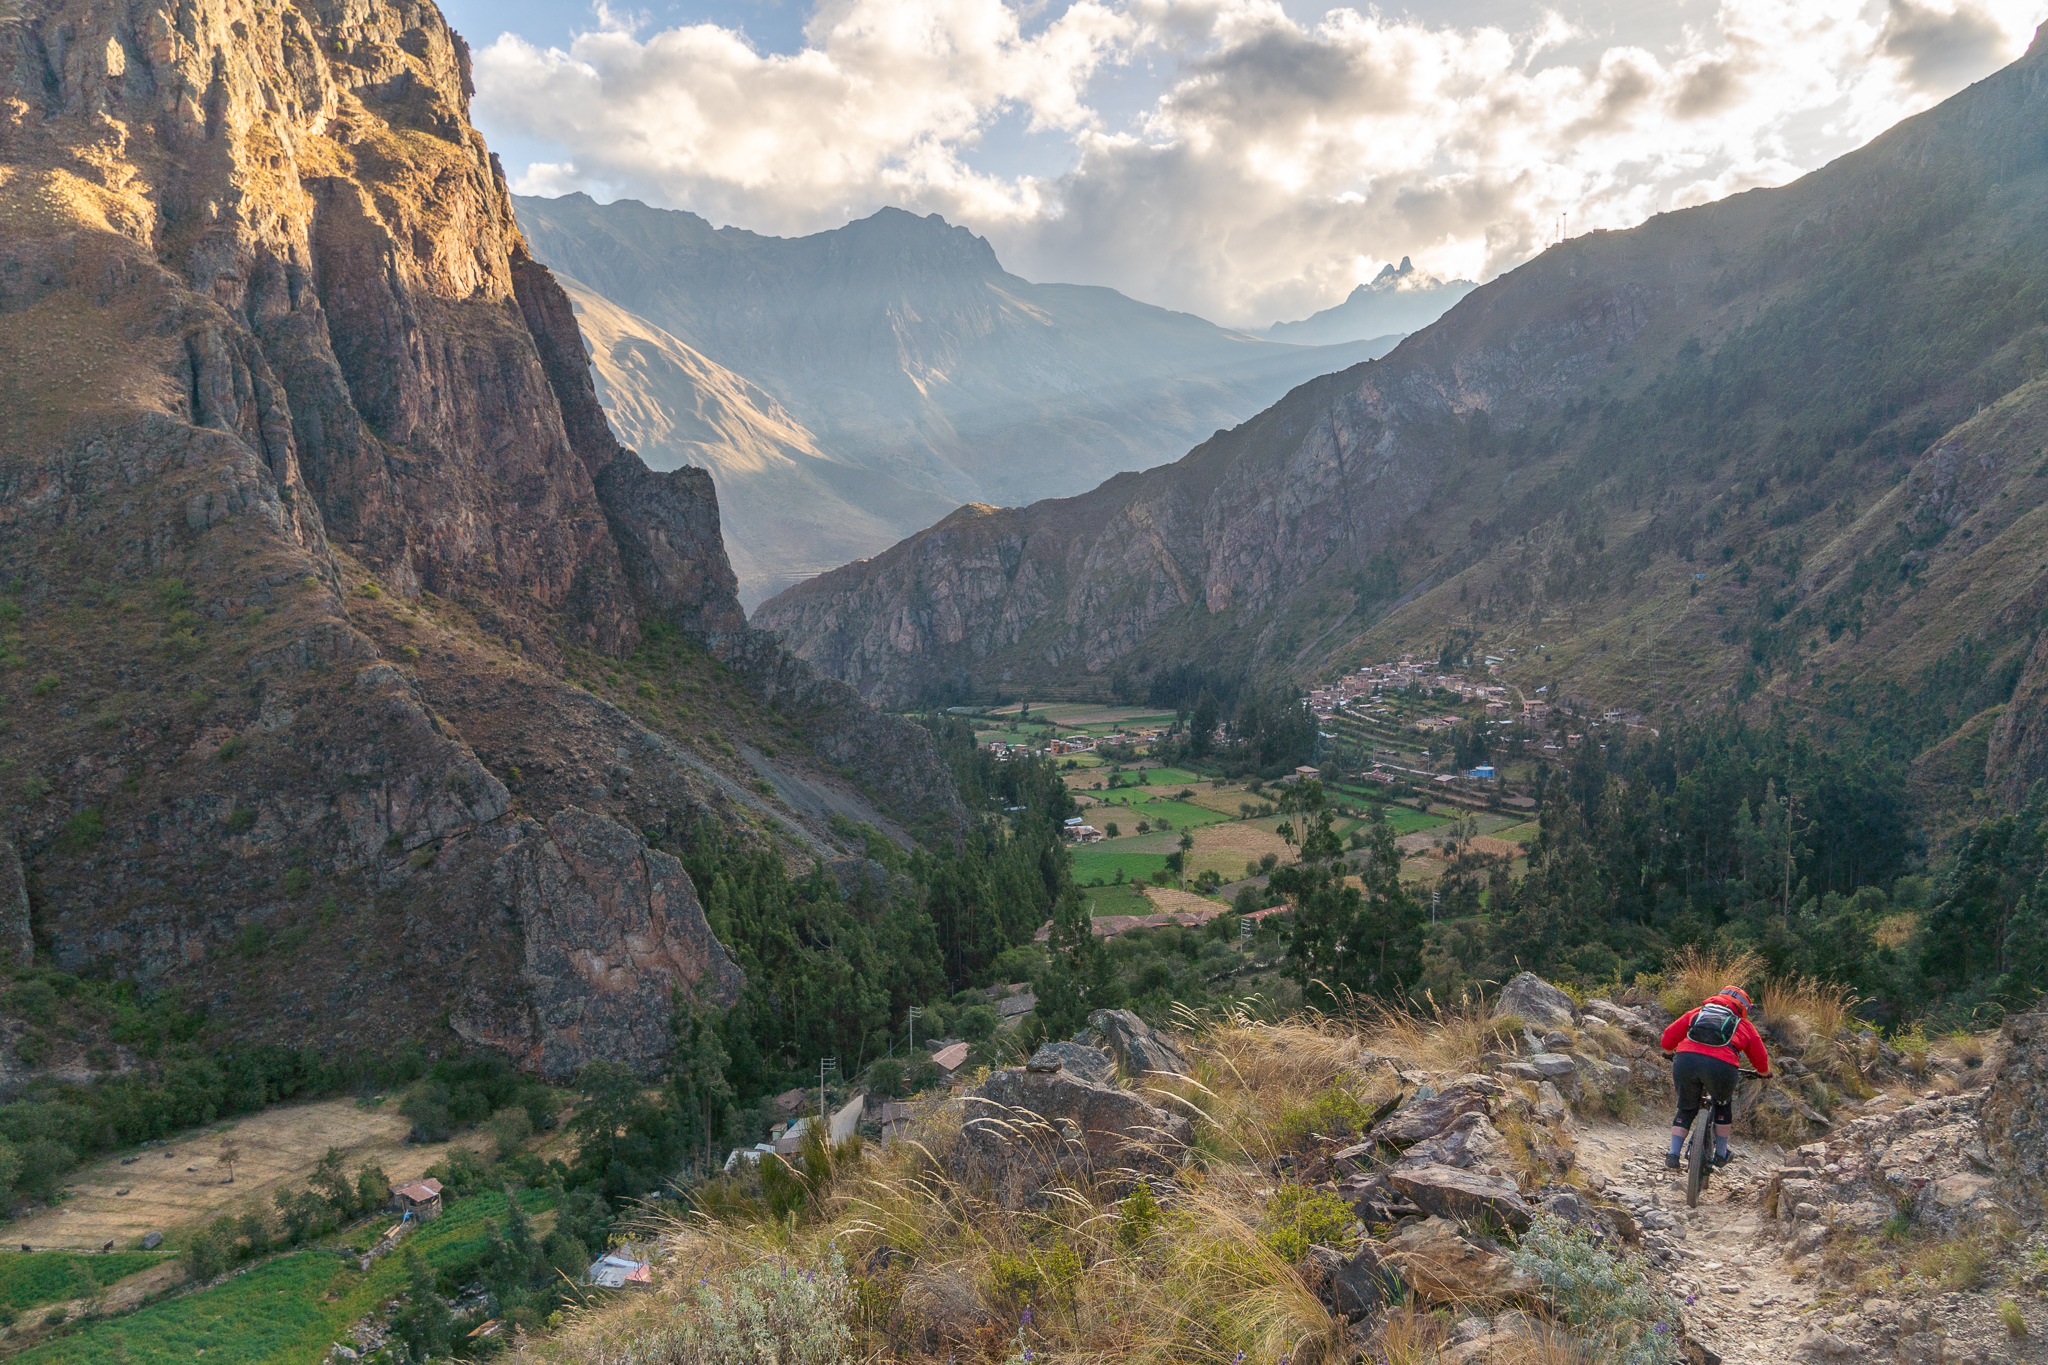
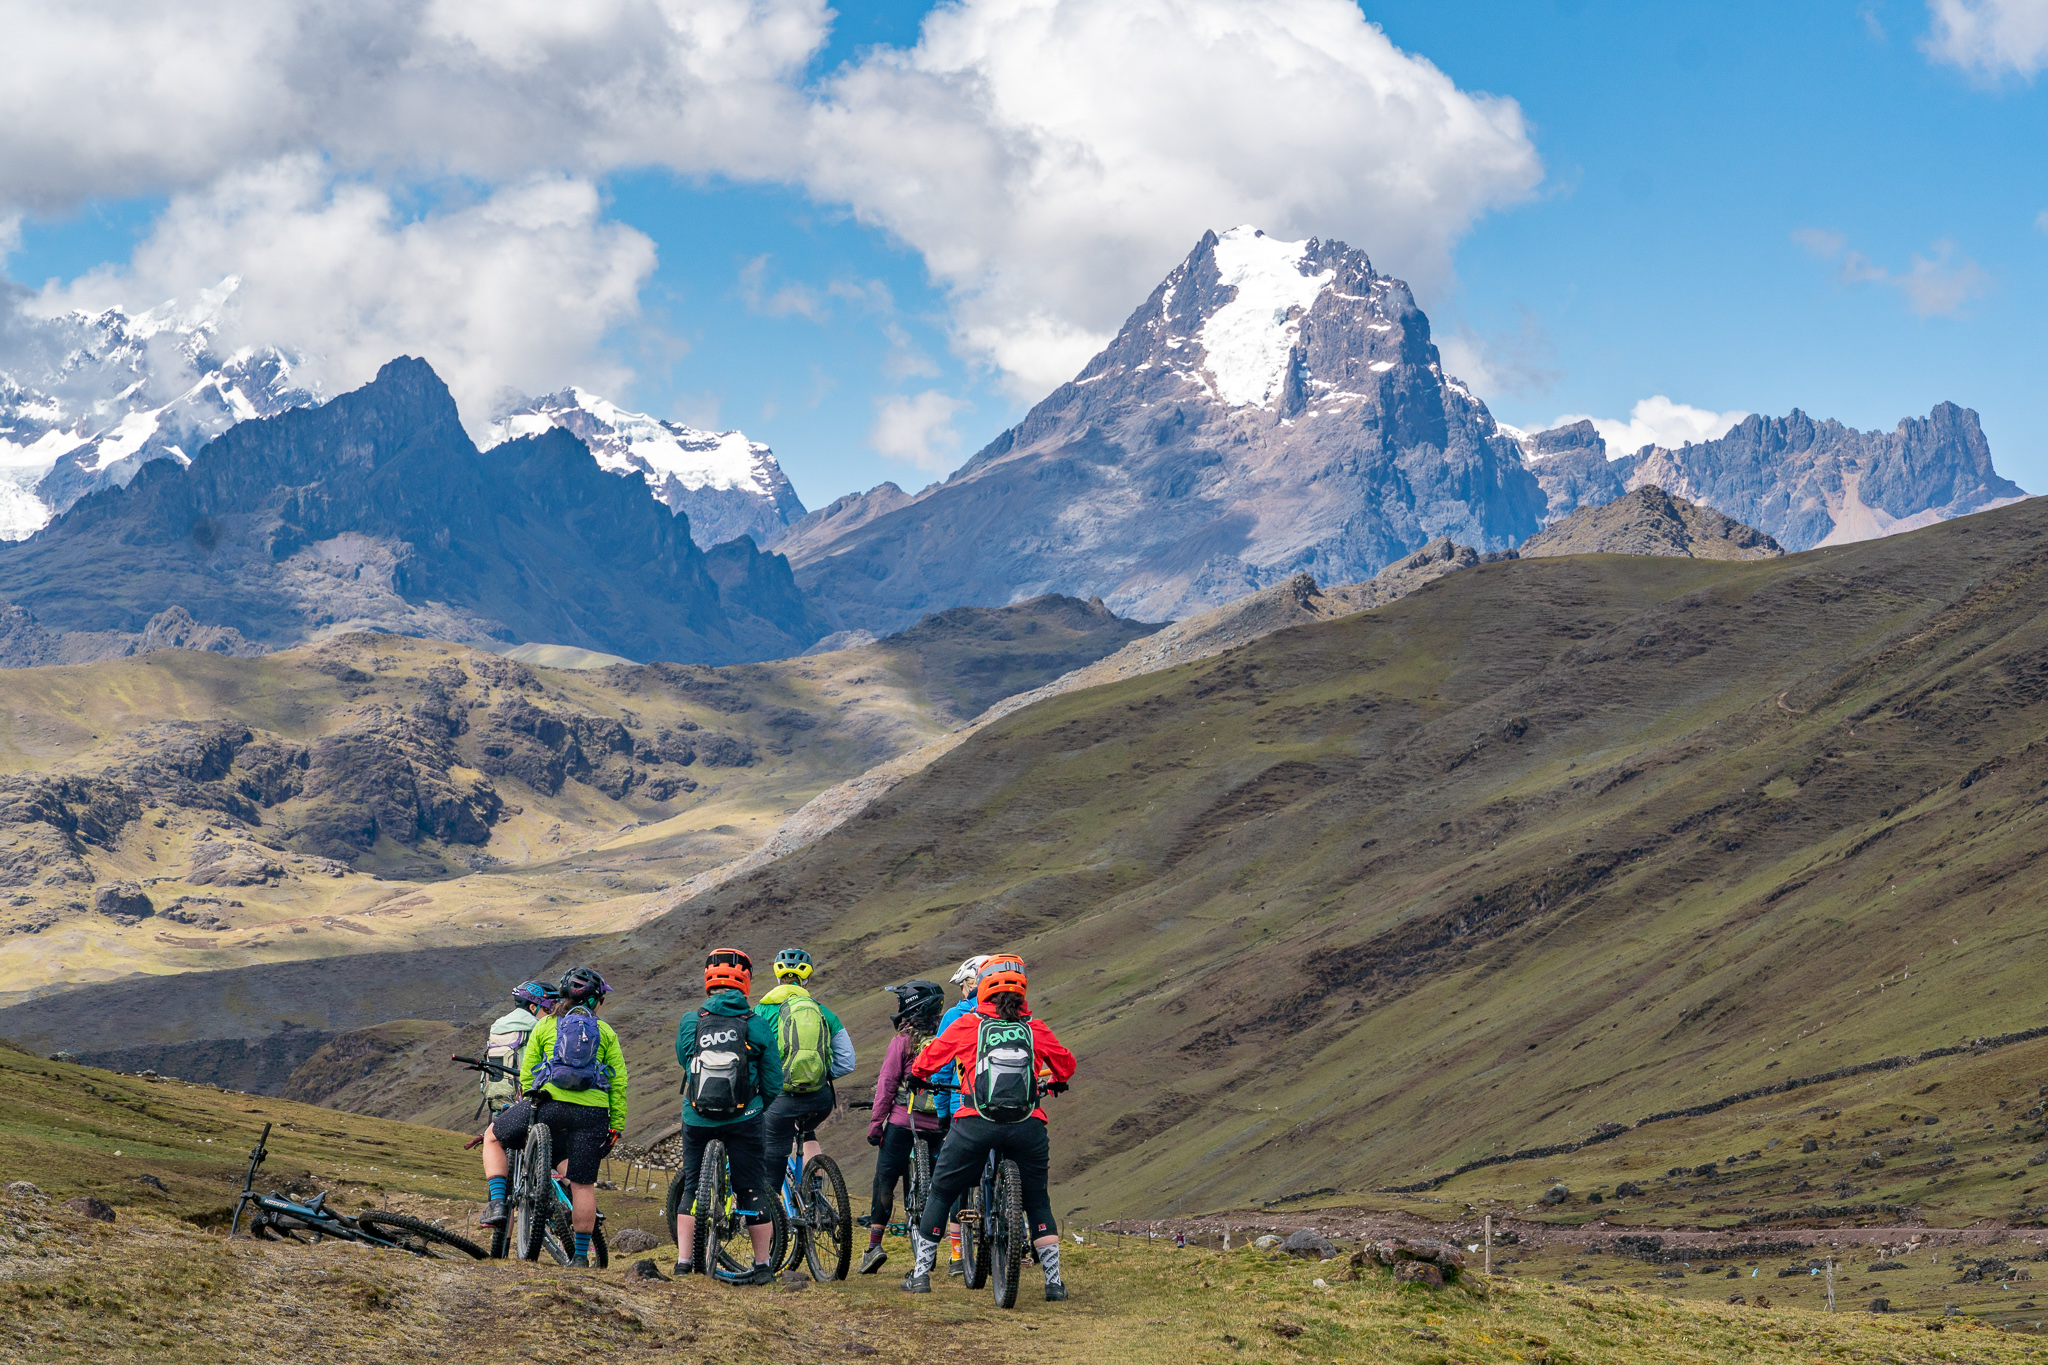
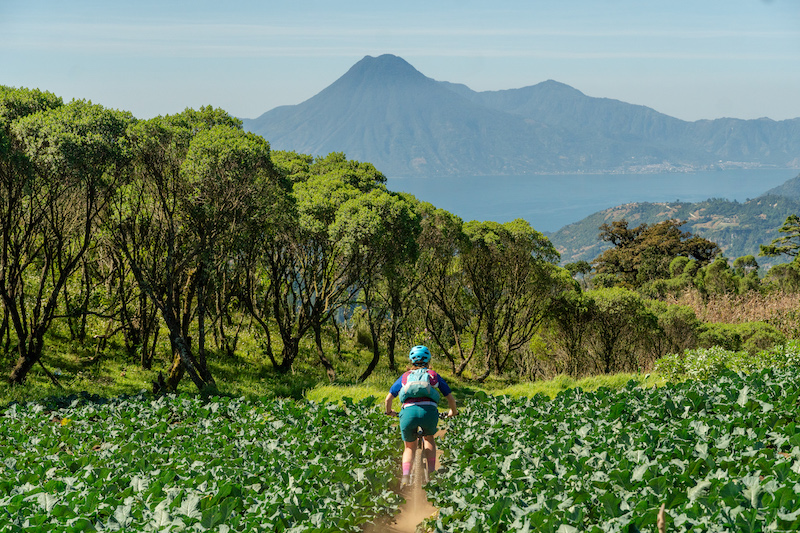
Part travel company, part global community development, World Ride goes beyond the typical “sustainable travel” paradigm. Their female-guided co-ed trips to Nepal, Guatemala, Peru, Lesotho, and Botswana provide on-the-ground support and resources for local women, as well as encourage promising local riders in the sport of mountain biking. Their programs have significance that extends beyond any one trip, providing education and careers for the long term.

Learn more about what sets World Ride apart—and how you can get involved—in our interview with Julie below.

What was the original inspiration behind World Ride?

World Ride was started after working on the film project Moksha. This film tells the story of three Nepali women and their experience as female mountain bikers in their country. I knew that I wanted to do something to continue to help in Nepal after the film project, and while traveling there for the filming, the idea for World Ride was born. I didn’t want to limit it to just Nepal and knew it could benefit women all over the world to give women the opportunity to mountain bike.

How do you go about determining new locations?

New locations for programs have come about in a variety of ways. We have discovered some through personal travel to places. We also have great relationships with other organizations with similar missions, like Pump for Peace, that connect us with women in the areas they are working in and we connect them in the places we work in.

We have amazing partners in each location that organize our trips and work to train the women who become mountain bike guides. We could not do what we do without these awesome partners. There are many Zoom and WhatsApp conversations that happen at odd hours of the day to make the magic happen for our trips and programming.

What sets World Ride apart from other guided trips?

Our trips are very similar to other guided trips in that they are fun mountain bike trips in an amazing destination. The thing that sets them apart is that they are guided by women that we have helped to support with training to become mountain bike guides. This gives trip participants a chance to meet the women that we work with and get to see firsthand how mountain biking has made a difference in their lives. Also, all of the proceeds from our trips go back into our programs to get more women into mountain biking in the place that we work. Essentially, World Ride trips are an important source of funding for the economic development we’re doing with women around the world.

Our trips are a really special way to support our programs! We often have trip guests bring gear to donate or even leave their bikes in the countries they visit to add to our bike libraries in those locations.

What is exciting about 2023’s agenda of trips?

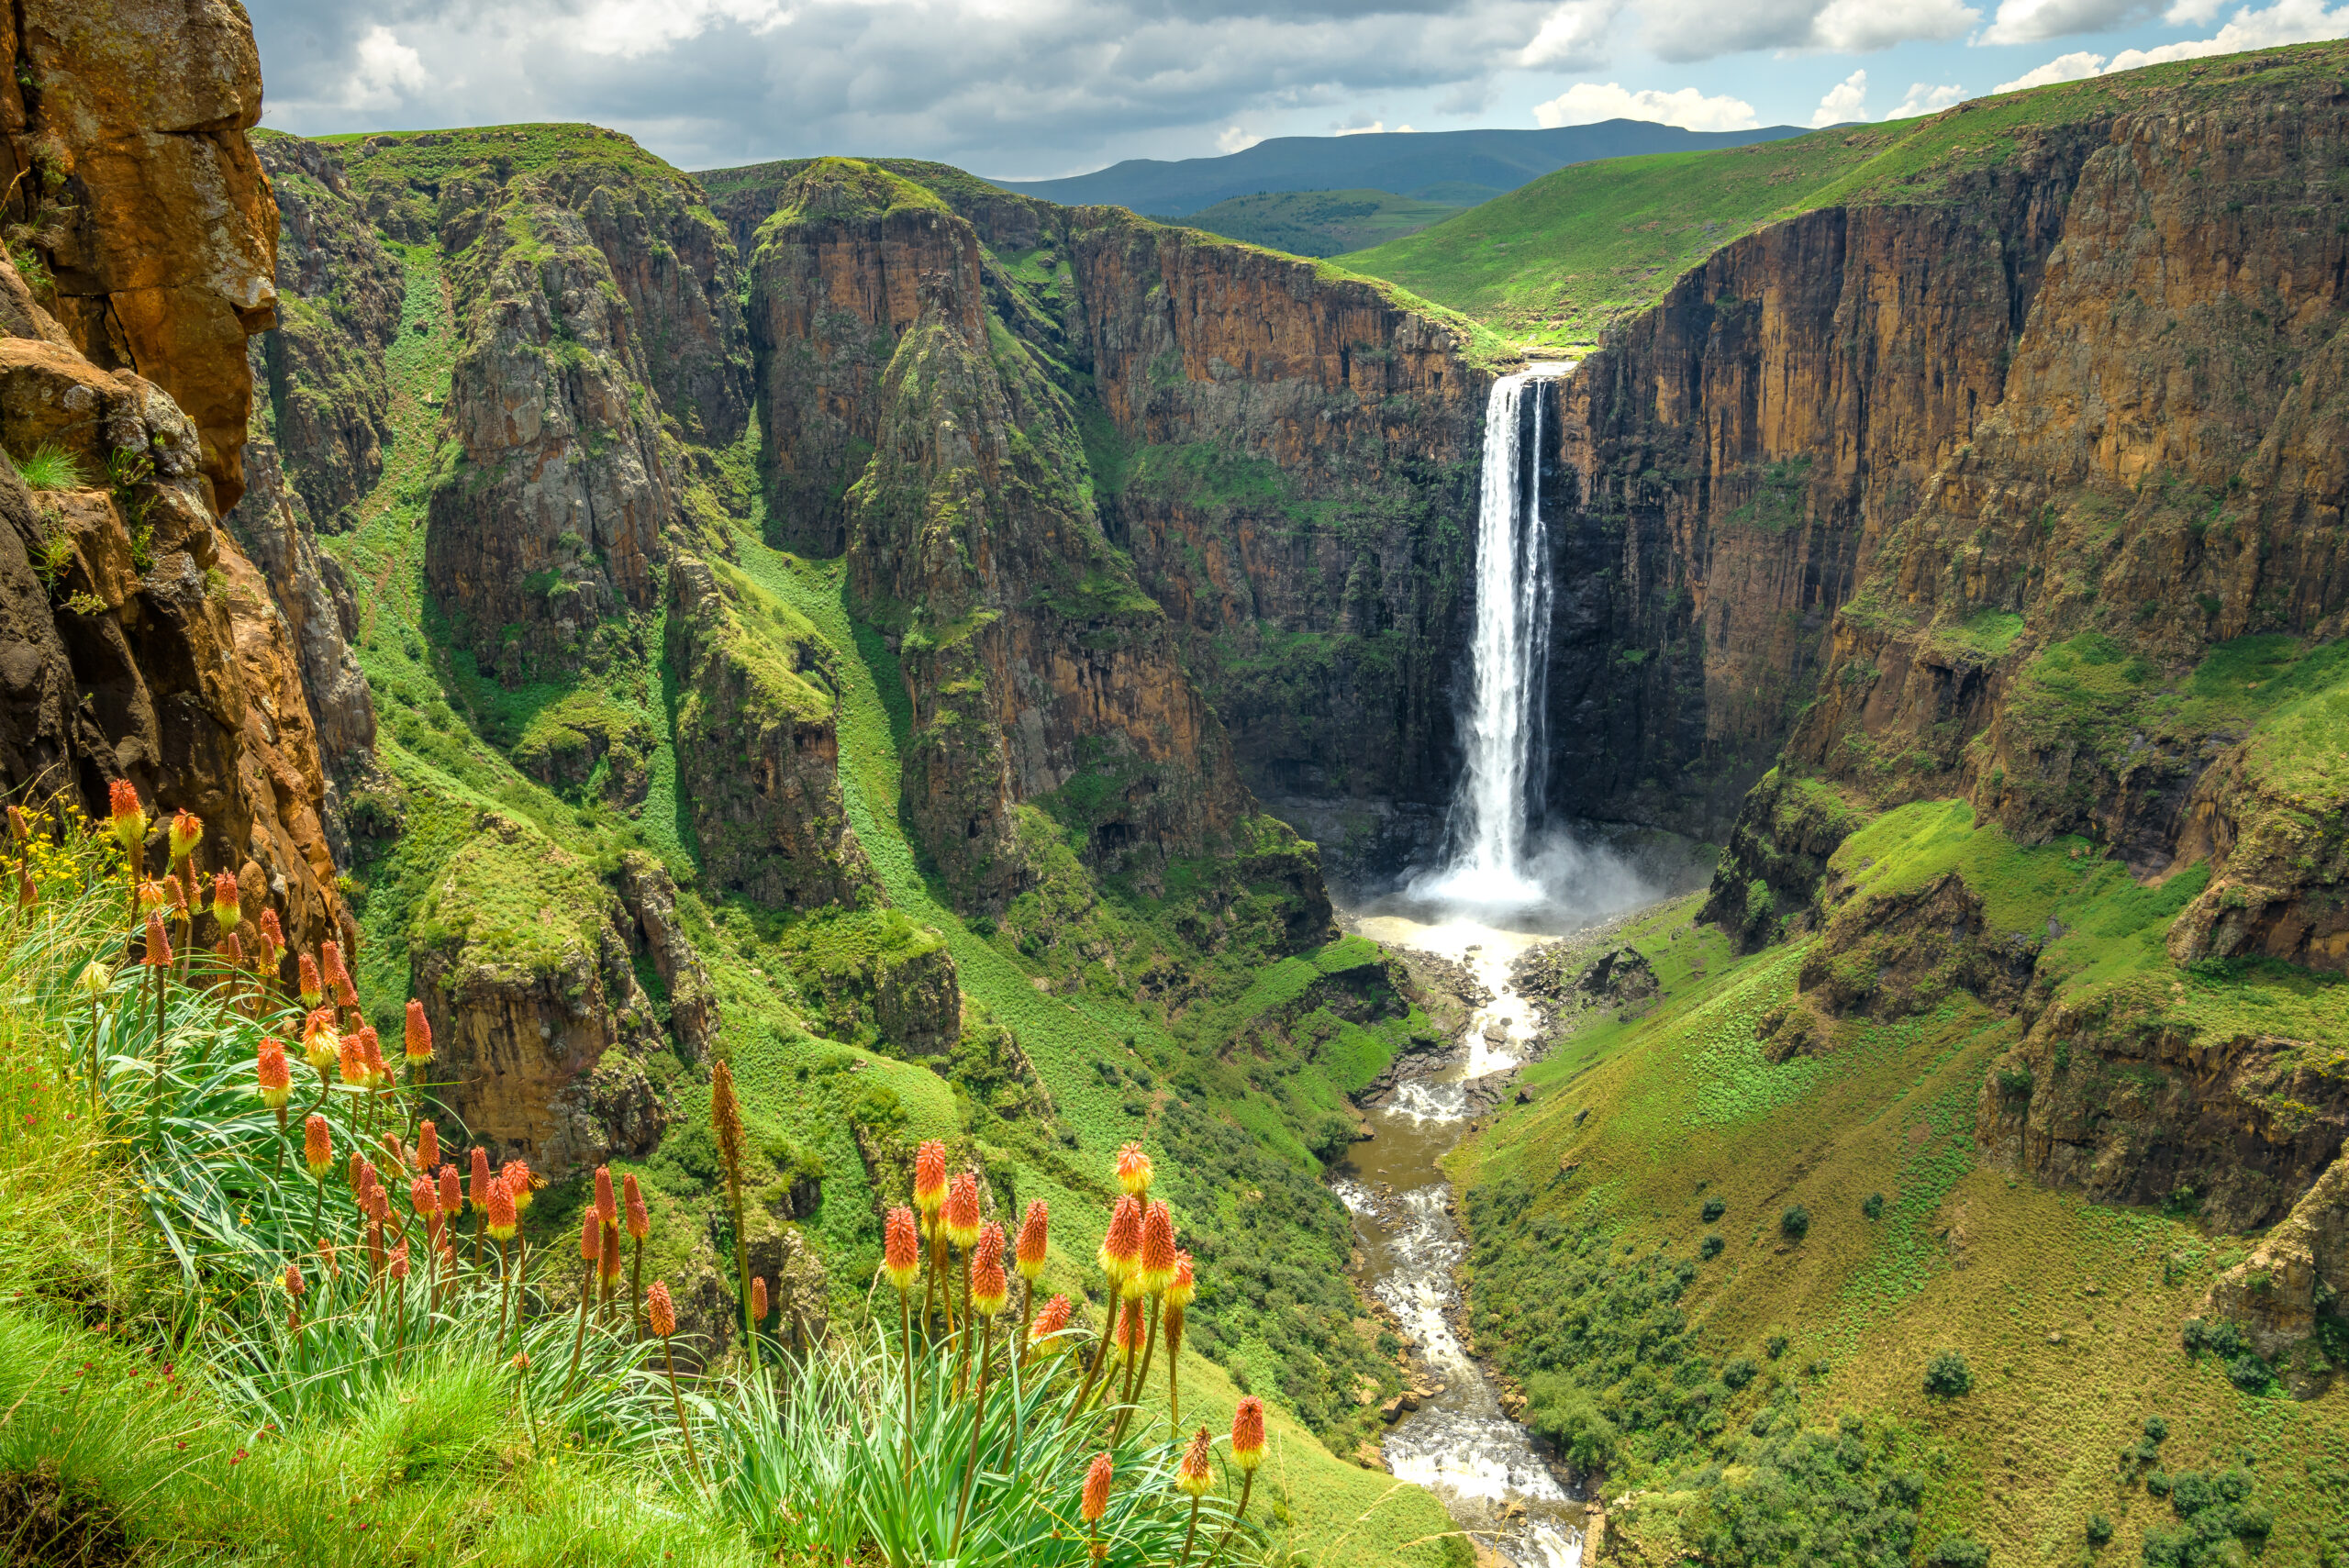
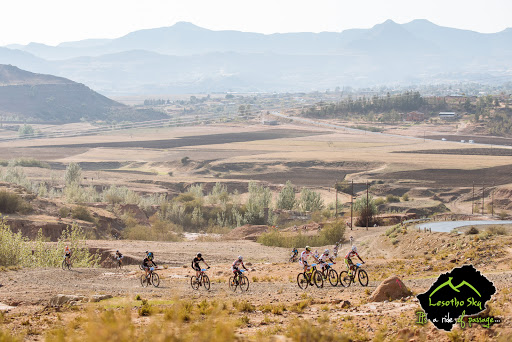
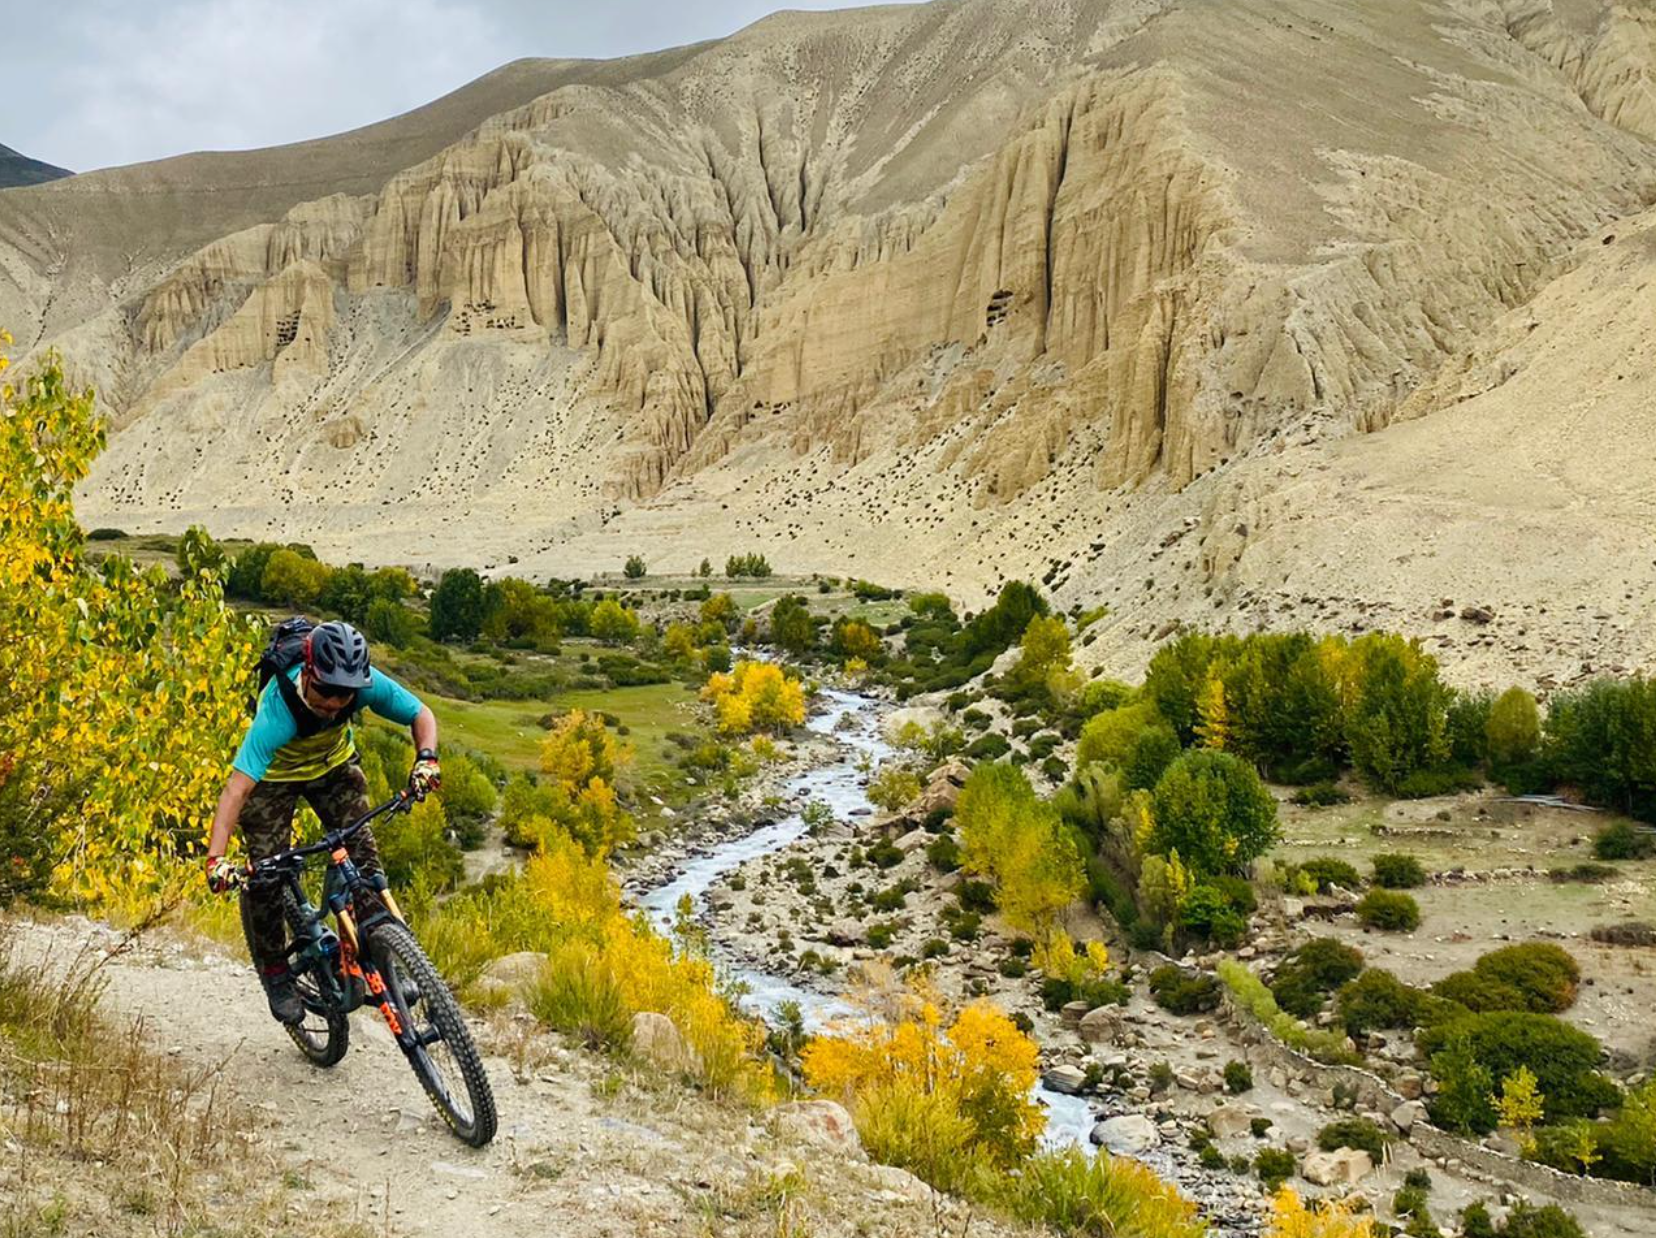
Our Botswana trip is sold out! Also, we are really excited about opening the first opportunity for riding in the remote, culturally rich Upper Mustang region of Nepal. We will also be hosting our first trip to the beautiful, mountainous country of Lesotho in Africa, during which we will also be training two new female guides and visiting the Pump for Peace pump tracks that helped to connect us with this incredible country.

Can you share any particular special stories from the female guides in the countries where World Ride runs programs?

There are so many stories! I think one of the most special things about all of them is the commonality between them. Every woman we work with around the globe says the same things about what mountain biking gives them: a sense of freedom and confidence. This is exactly why we are doing what we do. Because mountain biking can be a challenging sport, it can really give someone a newfound sense of confidence. We find that with the women we work with, this confidence translates into other areas of their lives off the bike. Some of them have started their own businesses and some have started their own women’s groups. It is hard to say if they would have done this if they hadn’t gained that confidence through mountain biking, but we really believe in the power of the sport.

If someone wants to get involved but can’t afford or take time for a trip right now, how can they support World Ride?

There are plenty of ways to support World Ride other than a trip. Our programs cost money to run, so financial support and donations are always the most helpful. We are a 501c3 nonprofit, so any contribution is tax deductible.

We also host events both in person and online throughout the year. Join our mailing list to keep up to date on these or check out our website.

We will also be opening applications for ambassadors in January 2023. We have both female and male ambassadors since we truly believe we need allies for our mission. Our ambassadors engage their local communities to help spread our mission and also help us with fundraising.

Do riders need to bring their own bikes?

We do recommend bringing your own bike on our trips and have created a guide to help you travel with your bike if that is something new for you. There are limited rental bikes in each place if someone needs to rent a bike.

If you want to know more or help in other ways with World Ride, you can email me at julie@world-ride.com.

Understanding e-MTB Categories

The e-mountain bike realm is expanding.

At Sports Garage we’ve been following the categorization of these bikes with curiosity and enthusiasm. The question for an e-mtb is no longer: E-bike or no e-bike But rather: Which e-mountain bike is right for me?

With recent new releases from our favorite manufacturers and more on the way, riders can now explore different e-mtb riding styles. Most manufacturers began with one e-mtb in their line-up. As new models have been introduced, e-mountain bikes are differentiated in similar ways to analog bikes—different geometries and travel lengths, most notably. However, e-mtb categorization also means new drive unit (motor) specifications as well.

In this comprehensive guide, we break down the most exciting products currently available in the following manner: lightweight versus long travel, torque, and battery capacity. You’ll find that depending on your riding style and desired ride experience, there might be a specific bike best suited for you.

First Things First: Reading the e-MTB Spec Sheet

While Boulder riders, new and experienced, have developed various levels of comfort with quantifying terms like “standover height” or “travel,” e-mountain bikes introduce new terms and new measurements to the description of the bike’s technician details, or its “spec sheet.” There are two main terms you need to know: Newton Meters and Watt Hours.

Newton Meters (indicated by Nm) is the measurement of the ability of the motor to rotate the back wheel of an e-bike. In other words, it’s torque. The more torque, the more power you have while accelerating—particularly at slower speeds up steep hills or over obstacles.

Watt Hours (indicated by Wh) is the measurement of the total available power for an e-mtb. You’ll see this listed as “battery capacity” in our guide and on most manufacturers’ websites.

What Style of e-MTB Is Right for You?

Ultimately, the e-mountain bike that’s right for you complements your riding style, terrain preferences…and maybe that of your friends! Take Boulder and the Front Range for example. Do you want maximum power to get in extra laps on Hard Money? Or do you want to cruise along the Switzerland Trail after work? (Check our guide to e-mountain bike trails in Boulder and Jefferson Counties.)

Lightweight vs. Long Travel

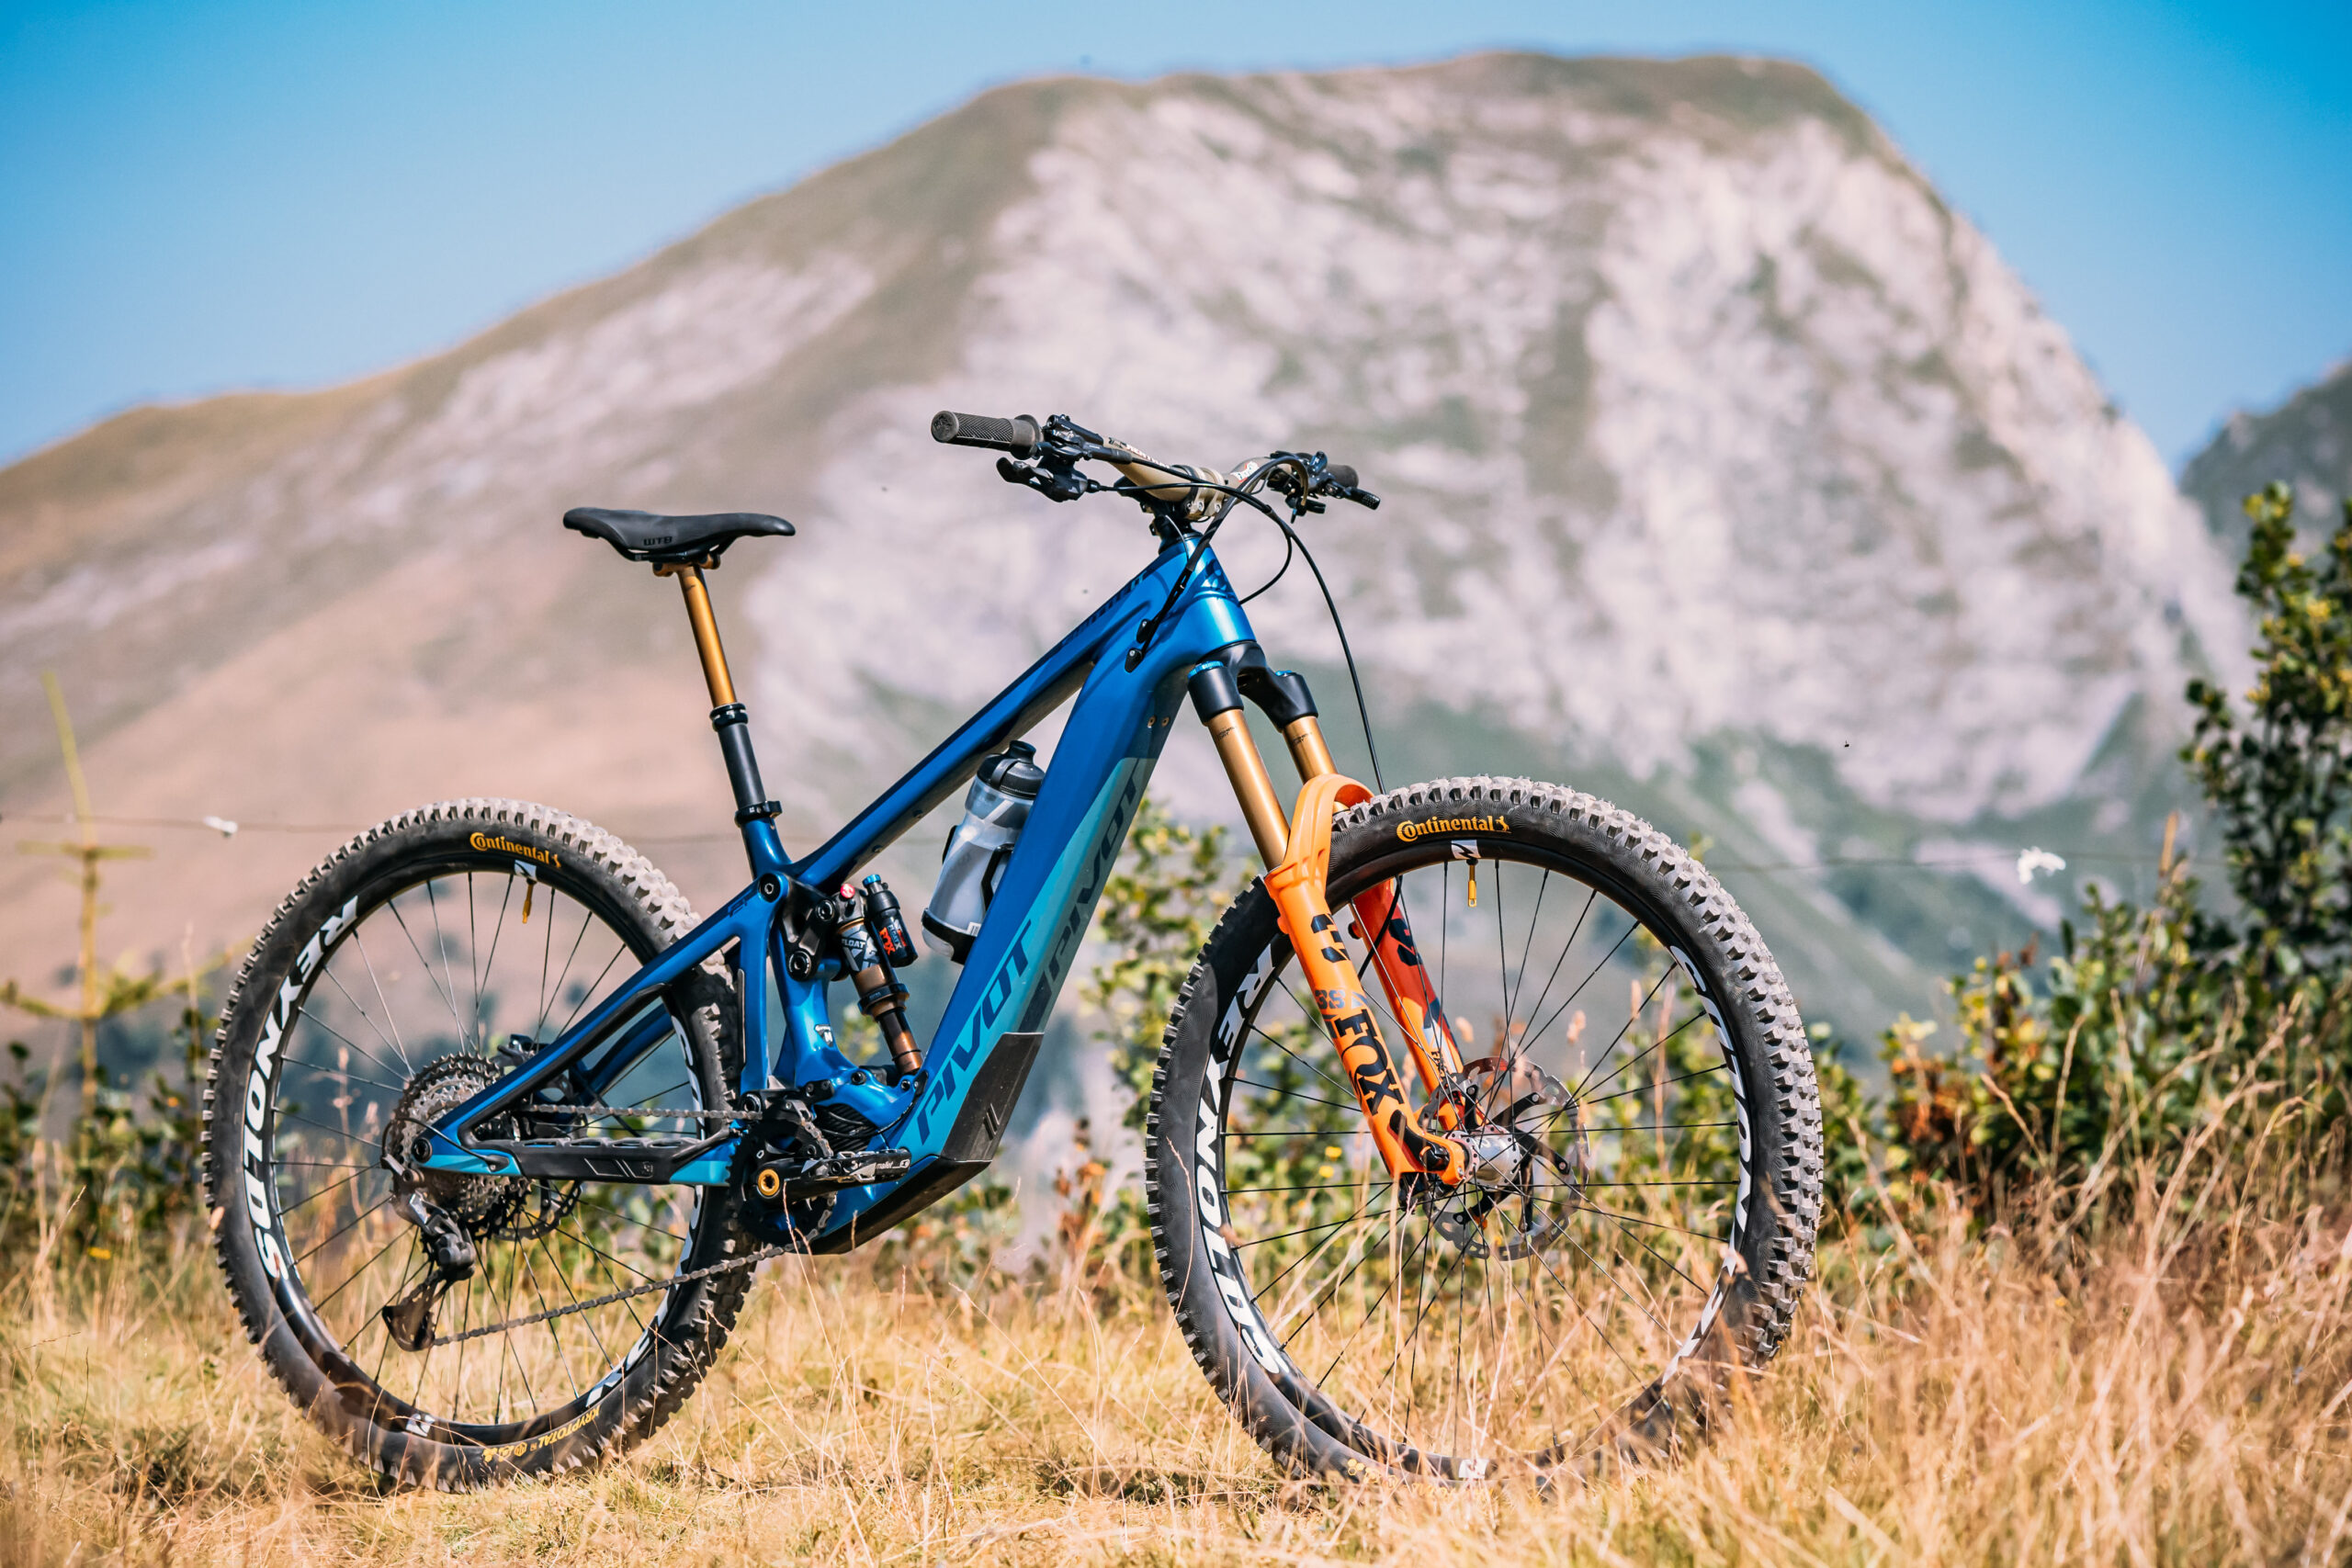
The primary differentiator in the new e-mountain bike riding experience is the categorization of the bikes. Lightweight bikes blur the lines between analog bikes and those with a battery on board. The frames tend to weigh less and are most likely to be described as having better power to weight ratios. Just look at the Pivot Cycles SL, which stands for “Super Light.” This agile bike features a FAZUA Ride 60 drive unit, achieving one of the lightest e-mtb experiences possible. In contrast, the Pivot Cycles LT, which stands for “Long Travel,” serves up more power, battery life, and travel, but weighs closer to 50 pounds.

To help narrow things down, we asked Dan to compare the Pivot SL to the LT after riding both during an e-mountain bike dealer education event in Salida.

“To me, it’s all about the experience you are after. If you love the traditional mountain bike feel, then the lightweight e-mtb is the best choice for you. The handling is similar to what you would expect from an acoustic bike with enough assist to help you extend your range or take the strain out of the climbs. The full-power e-mtbs are a different animal altogether. They often weigh over 50 pounds and the handling is very different. They are very stable and hug the ground with ferocity. The power is unbelievable and will have you riding up and over things that previously seemed impossible. They also open up new terrain and make rides that would previously only be possible for pro riders accessible to the average mountain biker. It’s a new type of experience that might appeal to those looking for the next frontier of pedal-powered riding.”

Why do we mention your friends? In our time working with Boulder e-mtb customers and clients, we’ve heard stories about being “out-powered” in an e-bike group ride. While we haven’t experienced this personally, we follow the logic: If you have a more powerful motor and more battery life, you may have the tools on board to ride harder or further than riders on a lightweight e-mtb. Conversely, if you’re the only person with a full-power bike in a group of riders on nimble “SL” style e-bikes, you might have a power-to-weight ratio disadvantage. We look forward to learning more about this dynamic as more diverse e-mountain bikes show up to group rides.

How Much Power?

When it comes to brute force, look no further than the lineup from Rocky Mountain Bicycles. The highest power setting on their proprietary Dyname™ 4.0 motor delivers a jaw-dropping max boost of 350 percent—that’s 108 Nm! (It is aptly named “Ludicrous” Mode.) All three of Rocky Mountain’s e-mtb rigs, from the Growler Powerplay hardtail to the long-travel Altitude Powerplay, sport this beefed up system. Keep in mind that bigger battery power typically translates to a heavier bike.

Demo an e-MTB in Boulder

Choosing the right e-mountain bike means the difference between a good ride experience and a great one, and there’s no better way to hone in on your preferences than with a demo. While an e-mountain bike demo continues to be hard to come by as supply chains normalize, our fleet will be ready to test ride again by spring 2023. If there is a particular bike you’d like to try, we’d love to know. Drop us a line at sales@sportsgarage.net.

THE e-MTB BREAKDOWN

Meet the e-mountain bikes for sale, or presently available from our partners. To learn more about each model, visit our e-mountain bike catalog.

Gravel Destination: 72 Hours in Patagonia, AZ

Gravel Cycling in Patagonia, Arizona

The term “shoulder season” always brings mixed feelings for us; it’s the time between the best conditions for either mountain biking or snow sports.

However, there are always great conditions somewhere, so we refer to late fall and early spring as “getaway season.” Embracing the art of the getaway brings new reasons to welcome changing conditions on the front range, and Patagonia, Arizona, is at the top of our list.

Perhaps no other geography boasts as many inspiring getaways as the desert southwest, drawing thrill-seekers, vortex-healers, conservationists, vision-questers, and, most recently, serious gravel cyclists. A riding itinerary in Patagonia can be tailored for any rider (beginner, intermediate, or advanced) looking for big blue skies, unexpected beauty, and a small-town vibe. This town of fewer than 1,000 residents, nestled in the Sonoran Borderlands, serves up riding, food, and regional interest in perfect proportions for a 3-day weekend, or a longer-term stay.

Patagonia lies one hour south of Tucson International Airport, a quick 18 miles north of the Mexico border. These recommendations will help you make the most of your getaway. Though we’ve ridden much of the region, the route links below were created by other riders and are just an example of the adventures you can put together!

Day 1: Patagonia 50 + Live Music

Settle into the valley on the first day with a middle-distance ride to familiarize yourself with major gravel access points, and leave time to provision yourself. The Patagonia 50 takes you quickly out of town along Harshaw Creek, climbing to stunning views of the San Rafael Grasslands. The route gains a total of 3,022 feet. This classic loop is an ideal introduction to the area.

Photo Credits: Freihofer Photography

We love, love, love the Red Mountain natural food store. But like life in an 80s country song, they roll up the street when the sun goes down. Red Mountain is open 10:00am to 5:00pm every day of the week (early birds welcome at 9:00am) and they only take cash, so plan ahead for provisions. You’ll be blown away by the selection: allergen-conscious, vegetarian, and vegan eaters will find lots of options. 

When evening arrives, head to the other end of the main drag, where The Cyclist’s Menu founders Zander and Heidi Ault opened the Patagonia Lumber Co. just under one year ago. The Lumber Co. has become one of Patagonia’s living rooms, bringing together locals, travelers, weekenders from Tucson, and anyone else passing through for music, exceptionally curated regional beers and wine, and—if you’re lucky—authentic tamales. Pop in to pick up a gravel guide to the county, with loads more riding ideas. Check the weekend music and food truck schedule online.

Photo Credit: Freihofer Photography

Day 2: Almost to Mexico + Designer Pizza

This San Rafael-Lochiel-Harshaw route provides a great description of a backcountry tour of the Canelo Hills, which grazes the border at the Lochiel townsite. We’ve seen similar routes labeled “Almost to Mexico.” The loop can be connected to Patagonia via Harshaw Creek. The route through the Canelo Hills circumnavigates the San Rafael State Natural Area, the largest remaining expanse of native grassland in the American southwest. For an alternative 100-mile route, follow the course of the 2021 Spirit World 100 gravel event. 

Time to refuel. Velvet Elvis has been on the radar of travelers and foodies since first opening in the late 1990s. The craft pizza establishment recently moved to its new home in Patagonia’s historic mission church on McKeown Ave. The namesake painting of Elvis (on velvet, of course) presides over the dining room while you enjoy beautiful handmade pizzas, salads, and stromboli. With 24-hour notice, the chef will prepare the designer Inca Quinoa Pizza for six—an artisan blend of quinoa and wheat flours, stuffed with layers of sauteéd vegetables, herbs, cheeses, and a roasted tomato wine sauce baked in a cast iron skillet.

Photo Credits:  Ruth Hager

Day 3: Short Ride + Wineries OR Lake Patagonia State Park

Spin out your legs after the previous day’s adventure with an out-and-back toward Mount Wrightson on Temporal Gulch Road. This road takes you past access to a new section of the Arizona Trail (AZT), a masterpiece of trail building, which we got to pre-ride in April of 2022 with the Arizona Trail Association. This new single track eliminates 16 miles of road, connecting the AZT from the south to the trail in Gardner Canyon. Our bucket list still includes a return trip to Arizona to bike pack additional sections of the 800-mile AZT, a designated National Scenic Trail. 

Photo Credit:  Freihofer Photography

You’ll wrap up your morning ride with plenty of time to play, either touring local wineries or relaxing at the lake. Yes, we did say wineries. The villages of Sonoita and Elgin—13 miles from Patagonia—were the first designated American Viticultural Area (AVA) in Arizona. In the early 1970s a soil scientist named Dr. Gordon Dutt conducted a vineyard study, and surprised winemakers with his discovery that grapes flourish in the warm growing temperatures and water-retaining soil, making the region the highest elevation AVA in the United States. The highly regarded Callaghan Vineyards and Dos Cabezas Wineworks are among a dozen or more vintners offering tastings in the area. 

Photo Credits:  Circo Vino

If wineries are not your pace, an afternoon at Lake Patagonia State Park offers fishing, swimming, boating, or SUP. The lake is well-managed to limit the use of motorized personal watercrafts, ensuring a peaceful place to play! 

If you’re like us, three days will not feel like enough time, and you will have uncovered enough hidden corners in and around Patagonia to draw you back to this special town over and over again. 

Lodging Recommendations

There are a lot of lovely, well-managed Airbnbs within walking distance of central Patagonia, or nearer the lake with loads of open space. Some dispersed camping areas can be found in the Coronado National Forest; however, we haven’t camped there yet. 

In Town

Open Space

Camping

Photo Credit:  Freihofer Photography

Gear Considerations

Luggage: Southwest Airlines offers nonstop flights to Tucson, and it costs $75 each way to bring your bicycle as a piece of luggage. There are lots of bike bag options on the market, many specific to drop bar bikes. We recommend the EVOC mountain bike bag because we can use it to travel with either our gravel bikes or a full suspension mountain bike. We have packed an XL full suspension bike with 29” wheels in the EVOC with minimal disassembly. Among the gear investments we have made in the past year, these bags are at the top of the list.

Tires: The flint rock and cacti of the San Rafael Valley have one mission: to eat your tires. The right tire really makes a difference anywhere in Arizona, and after testing several different brands and talking to local riders, we recommend the Kenda Flintridge or Alluvium Pro. 

Clothing: Patagonia is usually 15–20 degrees cooler than Phoenix, and 8–10 degrees cooler than Tucson. During “getaway season” the nights and early mornings will be cool, and the days warm and wonderful. Pack with appropriate layers. 

Smart Mountain Bike Suspension

Mountain bikes have come a long way in the past decade. Ten years ago, the average rider was just beginning to seriously consider the move to a carbon frame, 26-inch wheels were still a common sight on trails (even the occasional “triple”), and dropper posts were a luxury for early adopters.

Hardly anyone could have suspected geometry would evolve into the elongated—yet efficient—machines we see today. eMTBs are yet another development pushing the envelope of what’s possible. And now, an upgrade you may not have known you needed is gaining in popularity: smart suspension.

Two brands lead the charge in delivering the suspension of the future—Fox and SRAM. While each system functions in a unique way, both strive to achieve the same end result: automatically adjusting your suspension settings, optimizing the amount of “openness” or “closedness” for the most efficient ride possible. We break down the tech and what it means for the typical mountain biker, below.

Why Efficient Suspension Matters

The truth is, suspension technology impacts every rider, whether you are aware of it or not. If you’re someone who doesn’t bother locking and unlocking your suspension based on the terrain (and ascending vs. descending), you are losing substantial pedaling efficiency. On the other hand, if you’re a rider who does lock and unlock your fork or shock (or both if able) constantly throughout a ride, you probably see the immediate benefit of no longer having to reach around your bottle cage and almost knock your front teeth out on your handlebars multiple times per ride. And if you’re riding a fully rigid mountain bike, well, come see us. 

Much like the introduction of the dropper post, you can see how electronic suspension solves a problem we all share.

Electronic Suspension Systems = Efficiency

Fox and SRAM solve this problem by doing the work for you. While both are electronic suspension systems, they differ in build. Fox’s system, called Live Valve, makes use of wired connections between the fork, shock, main control unit located in the frame, and a couple of additional sensors. These all toggle independently of one another between two settings, open and firm, based on readings taken by the controller at a rate of 1,000x per second. The whole set-up is powered by a battery mounted on this controller (located on the frame) that can be charged while on or off the bike.

SRAM’s system, Flight Attendant, functions similarly but is wireless. In much the same way, the smart system reads the terrain and the pitch of the bike to toggle between three settings: open, pedal, and lock. A small army of AAA batteries keep things running (seven to be exact) with a ride time of roughly 30 hours. The “brain” of the system is located on top of the right fork leg, allowing you to toggle manually through modes (much like a normal fork) if preferred. 

Both systems offer apps to further customize—and fully understand—your experience using this smart technology.

Ready to Upgrade to Automatic? 

Although Live Valve has technically been in the marketplace since 2018, it is only beginning to make an appearance as an in-line build option with most manufacturers. There is no aftermarket availability for Flight Attendant as of right now, and Live Valve systems can only be installed on frames that have been provisioned for the system. Several manufacturers have begun anticipating riders’ interest in intelligent suspension by making frames Live Valve-ready. Within our inventory, you can find the Live Valve on select Pivot Trail 429 builds. 

The Sports Garage Take

So far, we’ve only had the opportunity to ride the Live Valve and have been impressed by its ease-of-use and noticeable efficiency. We are excited to test out the Flight Attendant this fall and report back with our findings on how it compares. We’re pretty passionate about suspension technology, so the evolution of intelligent systems is at the top of our “must ride” list. Stay tuned for more. 

In the meantime, if you’ve ridden on either, be sure to let us know your thoughts on social media or by contacting us at ​​sales@sportsgarage.net or 303.473.0033.

Sports Garage Suspension Studio

Did you know we have our own Suspension Studio here at Sports Garage, located right in downtown Boulder, Colorado?

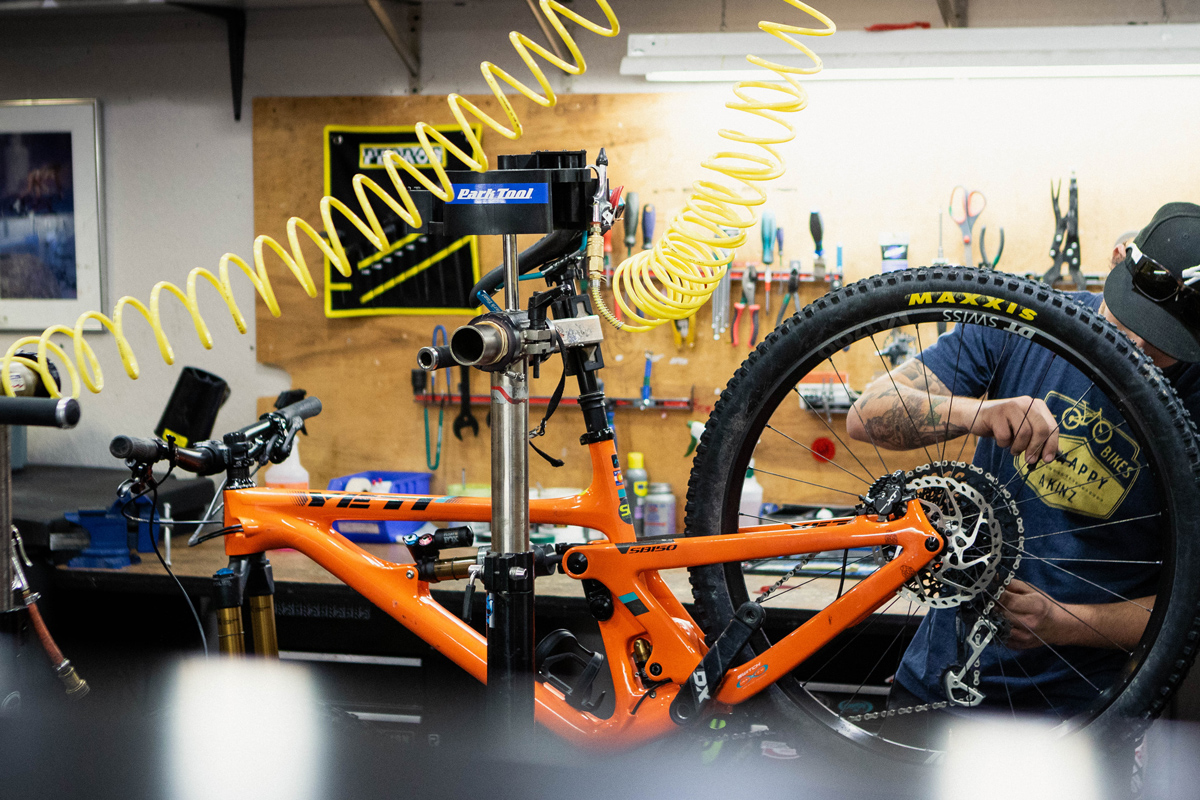
Gone are the days of lugging your mountain bike to the farthest stretches of Boulder County. That’s right: there’s a lot more going on behind our maintenance counter than you might think! Not only do we offer a full maintenance menu and bike fitting service, but we can also take care of all your suspension needs. 

Our Suspension Studio services some of the most important components on your mountain bike: your fork, shock, and dropper post. Without these modern elements, mountain biking would still be a bumpy experience cut out for only the hardest of spinal columns. And while often overlooked, it’s important to service these components at regular intervals to keep your ride as plush as possible. Think of it like putting oil in your car—you won’t notice there’s a problem until it’s too late.

We caught up with team member and bike mechanic, Blake Sommer, to find out why you should consider scheduling a suspension service sooner rather than later. 

Blake Sommer

Manufacturers generally recommend a lower leg fork service every 50 hours. Can you explain how this isn’t quite as often as it sounds?

There are a lot of variables that can affect the wear and tear on your suspension. Riding the creek path up to Betasso puts far less wear and tear on your suspension than riding the chair lift at Winter Park. For example, Jesse gets his suspension serviced 3x a year, while Dan only opts for 1x. Both service schedules make sense for their riding schedule. Jesse spends a lot of time at downhill parks and also races enduro. Dan mostly rides trails and does a lot more pedaling to the trails.

Regular maintenance is definitely an investment. Can you explain how you can actually save money over time by servicing your bike? 

Spending $110 to get your fork serviced can feel like a lot of money. However, it is less than 10 percent of the cost of a new fork. A new Fox Fork can cost as much as $1,249! If you service your fork once a year (like Dan), it would take you 11 years to spend that much.

Why is it so unique that Sports Garage offers suspension services?

The biggest benefit is timing. When you send your fork or shock off to a vendor like Fox, it can take 2-4 weeks to get it back. That’s 2-4 weeks without your bike!

At Sports Garage you can drop your bike off for scheduled suspension service in the morning and we will have your suspension overhauled by the end of the day.

At Sports Garage we are able to offer a full factory service on Fox, Rock Shox, and DVO suspension. This requires an investment in expensive, specialized equipment. The complex internals of suspension require intricate tools to do the job correctly. It also requires a lot of training and know-how from our suspension technicians. They regularly recharge dampers and deal with nitrogen in excess of 500 PSI. 

What else can riders do to increase the longevity of their suspension components?

Wiping down your suspension after each ride can keep that dirt from getting into your suspension components. Everything else is internal so there’s not much maintenance to be done. Servicing your suspension at the recommended intervals will keep your suspension working better for longer.

Find out more about suspension maintenance here. To schedule your service, give us a ring at (303) 473-0033.

Understanding Mountain Bike Geometry

Geometry. It has been a buzz word in mountain biking for many years. One of the biggest innovations in mountain biking has been the refined geometry that allows us to ride faster and further with less effort. 


But what is geometry? 

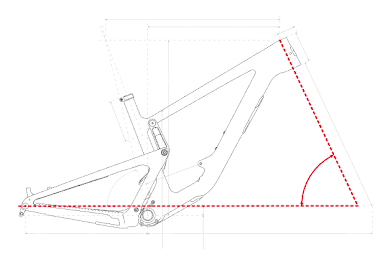
It is a list of angles and numbers that dictate the construction and design of a frame, and add up to the way a bike fits and handles for the rider. While every measurement of a bike ultimately affects bike-feel, we have picked the five most prevalent measurements and broken down their specific impact on the riding experience.

1. Head Tube Angle: Steep or Slack

This is perhaps the most-talked-about geometry number, and for good reason. The head tube angle has a significant impact on the way a bike steers. The steeper the head tube angle, the closer the front wheel will be to the rider. This results in quicker steering through the handlebars; an asset at predominantly slow speeds – but this quickness can become a detriment at downhill speeds, where the bike may start to feel unstable as steering input becomes magnified. 

The more relaxed or “slacker” the head tube angle, the further the front wheel is pushed out in front of the rider. This makes for slower steering at the handlebars – a phenomenon most pronounced at slow speeds. This sluggishness, however, diminishes at faster speeds. At climb speeds, a steep headtube angle is an asset, and at descent speeds a slack angle is better. As a rider, one has to choose where they wish to strike the balance between climbing agility and downhill stability.

2. Chainstay Length: Short or Long

Chainstay length is the distance from the middle of the bottom bracket to the center of the rear axle. Chainstay length tells you whether the rear wheel is tucked in tightly or if it sticks out further behind the rider. Short chainstays put the rear wheel right underneath the rider, resulting in quicker handling. Short chainstays also make wheelieing and manualing easier. Long chainstays mean the rear wheel extends further back behind the rider; this is great for high speed stability but makes maneuvering through tight turns at low speeds more difficult.

3. Stack: Think of Your Back

Stack height is measured as the distance from the top of the head tube to the middle of the bottom bracket. It is essentially a measurement of how tall the front end of your bike is. If you like to be upright or have a bad back, this is an important measurement. The taller the stack height, the higher your handlebars will be. The shorter the stack length, the lower your handlebars will be.

4. Reach: Short or Long

Unfortunately, reach does not describe how far you reach on your bike. (For that, we usually defer to effective top tube length). Instead, reach measures how long the bike is from the center of the bottom bracket to the center of the head tube. Much like head tube angle, reach tells you whether the bike will steer slower or quicker. 

A longer reach means the bike will be very stable at high speeds but harder to get around a tight switchback. A shorter reach means that tight sections of trails are easier to maneuver but you sacrifice some stability. One thing to note is that steep seat tube angles can artificially make reach numbers longer because more of the bike is shifted in front of the bottom bracket. Be careful to keep seat tube angle in mind when comparing the reach between bikes.

5. Bottom Bracket Height: High or Low

Bottom bracket height is measured from the ground to the center of the bottom bracket. This measurement is important in two distinct ways: The first is simply ground clearance. The higher the bottom bracket, the more ground clearance you have when pedaling. This means fewer pedal strikes and better technical climbing. The second, more nuanced way the bottom bracket height affects a bike’s ride is its influence on a rider’s center of gravity. The lower the bottom bracket height, the lower the center of gravity, and more stability when descending. If the bottom bracket height is too tall, then you can have a “teeter-totter” feel, and the bike can feel unstable when things get rough.

All of these aspects of your bike’s geometry will play into how it feels on the trails. As with other aspects of mountain biking, your preferred geometry is subjective and depends entirely on your build, your riding style, and where you spend the most time riding your bike. 

Questions about geometry? Don’t hesitate to ask our team the next time you’re in the shop.

Your Getting Started Guide to eMTBs

Riding an electric mountain bike, in many ways, is no different than riding an entirely self-powered mountain bike; both styles of bike deliver the joy of being on the trail and the opportunity to challenge yourself as a rider. However, there are some nuances to keep in mind while preparing for your next eMTB ride. Set yourself up for success with the key guidelines, below.

1. Make sure motorized vehicles are allowed.

Before loading up your eMTB and heading to the trailhead, it’s mandatory to find out whether or not your trail system of choice allows electric bikes. Here in Boulder County, this takes some attention to detail. Boulder does not currently allow eMTBs on any Open Space or Boulder County Parks trails, which means many of our favorite after-work rides are off limits.

But don’t worry: our neighbors to the south in Jefferson County are wide open for eMTB fun! In addition, e-bikes are allowed in all 42 Colorado State Parks, meaning places like Golden Gate and Staunton are great places to ride your eMTB.

Local eMTB Rides:

  • Golden Gate State Park
  • Staunton State Park
  • Maryland Mountain
  • Switzerland Trail
  • All Jefferson County Open Space trails!

For a comprehensive list, check the extensive Boulder County website. Note that BCPOS and OSMP allow exemptions for mobility impaired visitors on most trails. USFS does not consider eMTBs an assistive device.

2. Familiarize yourself with your bike.

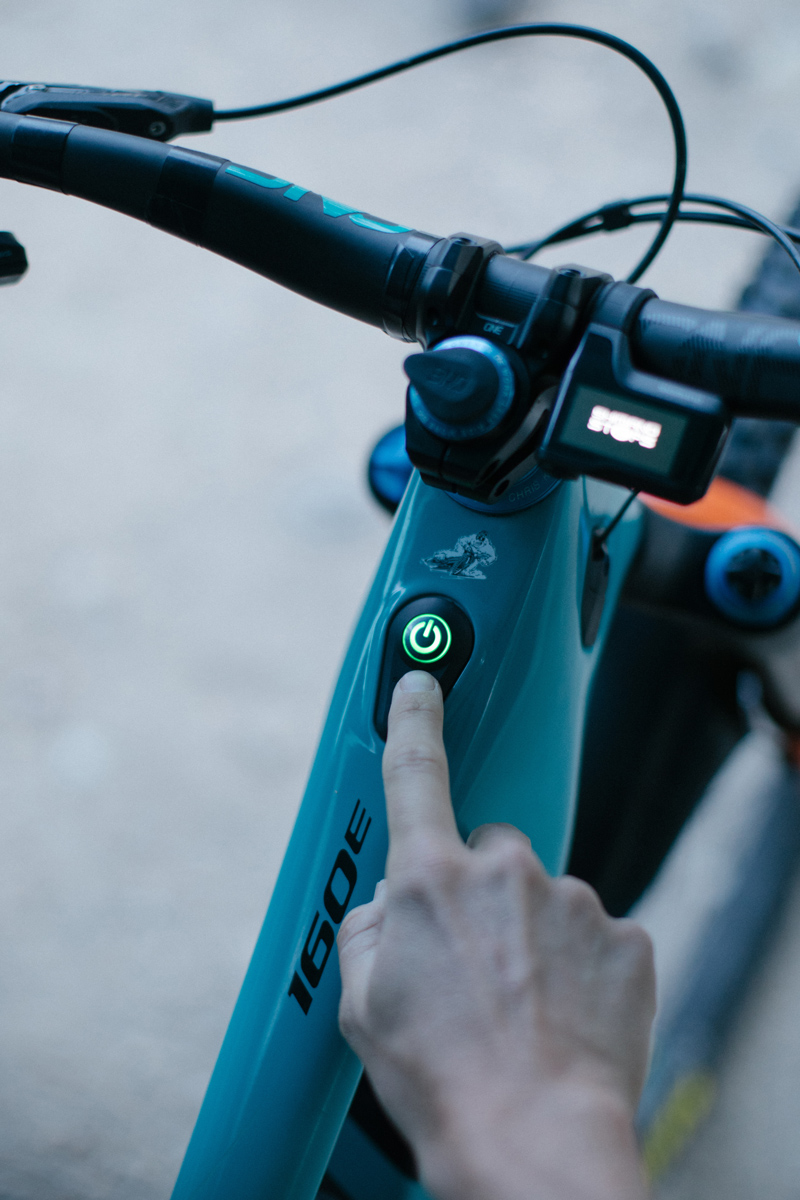
Each electric mountain bike will have a different interface, and it’s important to know how these controls work before you find yourself heading up technical terrain on an exposed trail. For example, the Rocky Mountain Instinct Powerplay features a top-tube display mount so that all your key metrics are a glance away, while the Santa Cruz Heckler and Yeti 160E have control centers affixed directly to the handlebars. From there, each will feature different levels of assistance, from eco to turbo. Just like with any new bike, it will take a minute to dial in the touchpoints and feel of your new eMTB. Take some time to get familiar before heading out.

3. Hone your electric-specific riding skills.

Electric mountain bikes have power controls, but as we like to say, “they don’t have a technical skills button.” Even the most seasoned mountain bikers have a few things to consider when switching over to an electric-powered ride.

The biggest difference in terms of riding awareness is simple: eMTBs are heavy. As a result, you’ll need to brake earlier on descents, and remember to move your weight forward even more than you may be used to when climbing. And as we mentioned earlier, it may also take some time to get confident with the different modes on your eMTB of choice. A good rule of thumb is to resist kicking it into turbo mode so that you’re still getting a workout in with good tire traction and trail etiquette—and so that your battery will last the entire ride.

The Electric Mountain Bike Network has a library of helpful videos for progressing your skills. (And there’s always Danny MacAskill on e-bikes if you need even more encouragement.)

If all else fails, don’t forget to pedal!

4. Remember to follow all trail etiquette.

As always, trail etiquette is king. Remember that all mountain bikers–e-bike or otherwise–must yield to hikers, horses, and uphill traffic. When you yield, try not to step too far off the trail into delicate foliage. Rather, lean your bike to the outside to allow enough clearance for the other trail users to pass. For more trail guidelines including Leave No Trace, check out our 10 commandments, here.

Why You Need to Service Your Bike

We’ve all been told a million times, but very few of us seem to do it. Nope, we aren’t talking about flossing—we’re talking about servicing your bike.

Your mountain bike (or gravel bike) is a big investment, and it’s one that we believe you should look after accordingly. With regular service you can extend the life of your beloved ride by years. Without? You’re looking at creaky components, leaky forks, a blown drivetrain, potential injury, and a much bigger price tag to fix things down the line. But just in case you aren’t convinced, let’s break down why it’s more affordable to choose ongoing maintenance—and exactly how you should schedule it out.

How can regular maintenance save me money—and keep me safe?

Sometimes it’s hard to understand why servicing your bike is important until it’s too late. Just ask our marketing hand Whitney, who found out why maintaining your drivetrain is important the hard way. (Knee cap to the frame—ouch!) But you don’t have to wait until your chain ring is geriatric to give it new life.

Keeping your chain clean and lubed for every ride and replacing it annually, or every 600-800 miles, will extend the life of other more expensive drivetrain components and ensure that the bike’s ride quality remains in top condition. As with many things mechanical, preventative measures like this can save you both the money and aggravation of a part’s untimely and outright failure, which leads to a significantly more expensive bill later on. Similarly, servicing your suspension for $130 is a lot more affordable than purchasing a new fork. (Those start at over $1,000.) Even if you service your suspension every year, it would take seven seasons of riding to get to that price!

Aren’t bikes built to handle this stuff?

Just imagine if every time you took your car for a drive it was down dirt roads, or through puddles, getting it caked with sand and sludge relentlessly. It can handle it, but it’s going to start degrading quickly. This is exactly how we treat our mountain and gravel bikes. While they’re hardy, they do require some attention. In order to keep our rides performing their best, lubricating their moving parts will keep them in excellent condition to continue pedaling smoothly and delivering on the big hits. That’s why servicing areas like the bottom bracket and seatpost are incredibly important. After all, if your dropper stops working at the top of a long descent, you’re going to regret it. Even for fair-weather riders who avoid the elements, that grueling climb to Gold Hill will stretch out your chain over time, jeopardizing the longevity of your drivetrain.

So what should I service, when?

The answer to this question depends on the amount of riding you do, as well as trail conditions. But for the average Colorado mountain biker who rides 2-4x/week, these are our recommendations. (Give us a ring or swing by for gravel recommendations.)

Every Ride

  • Tire pressure
  • Clean and lube the chain

Every 2-3 Months

  • Add sealant to tubeless tires
  • Assess brake pads
  • Check the air pressure in your suspension
  • Assess chain wear. We have a tool and are more than happy to measure chain wear.
  • Assess brake rotor wear

Annually

  • Replace tires
  • Replace chain
  • Brake system fluid flush including caliper cleaning and lube of pistons
  • Replace cables
  • Suspension Service
  • Level 1 Tune: includes bearing assemblies, shifting and brake adjustments, and more
  • Level 2 Tune: Level 1 Tune plus bottom bracket service, drivetrain analysis and deep clean, and more

The big question: how long should my bike last?

The answer to this question is different for everyone, but if you take care of it properly, your bike has no expiration date. We know some athletes who prefer to continue regular maintenance on their bike for years–even going so far as to give it a fresh paint job–before purchasing a new one. Other riders prefer to upgrade to the newest release every few seasons to take advantage of the latest tech and the excellent resale value of their old bikes. (Hint: well-maintained pre-owned bikes sell for a lot more.). No matter which path you choose, maintaining your bike promotes its longevity so that you or someone else can enjoy it for seasons to come. And that’s a sustainable effort we can get behind.

Interested in learning more about keeping your bike rolling? Discover all there is to know about suspension maintenance, here.

Ready to service your bike?
Get Tuned

Choosing Maxxis Mountain Bike Tires

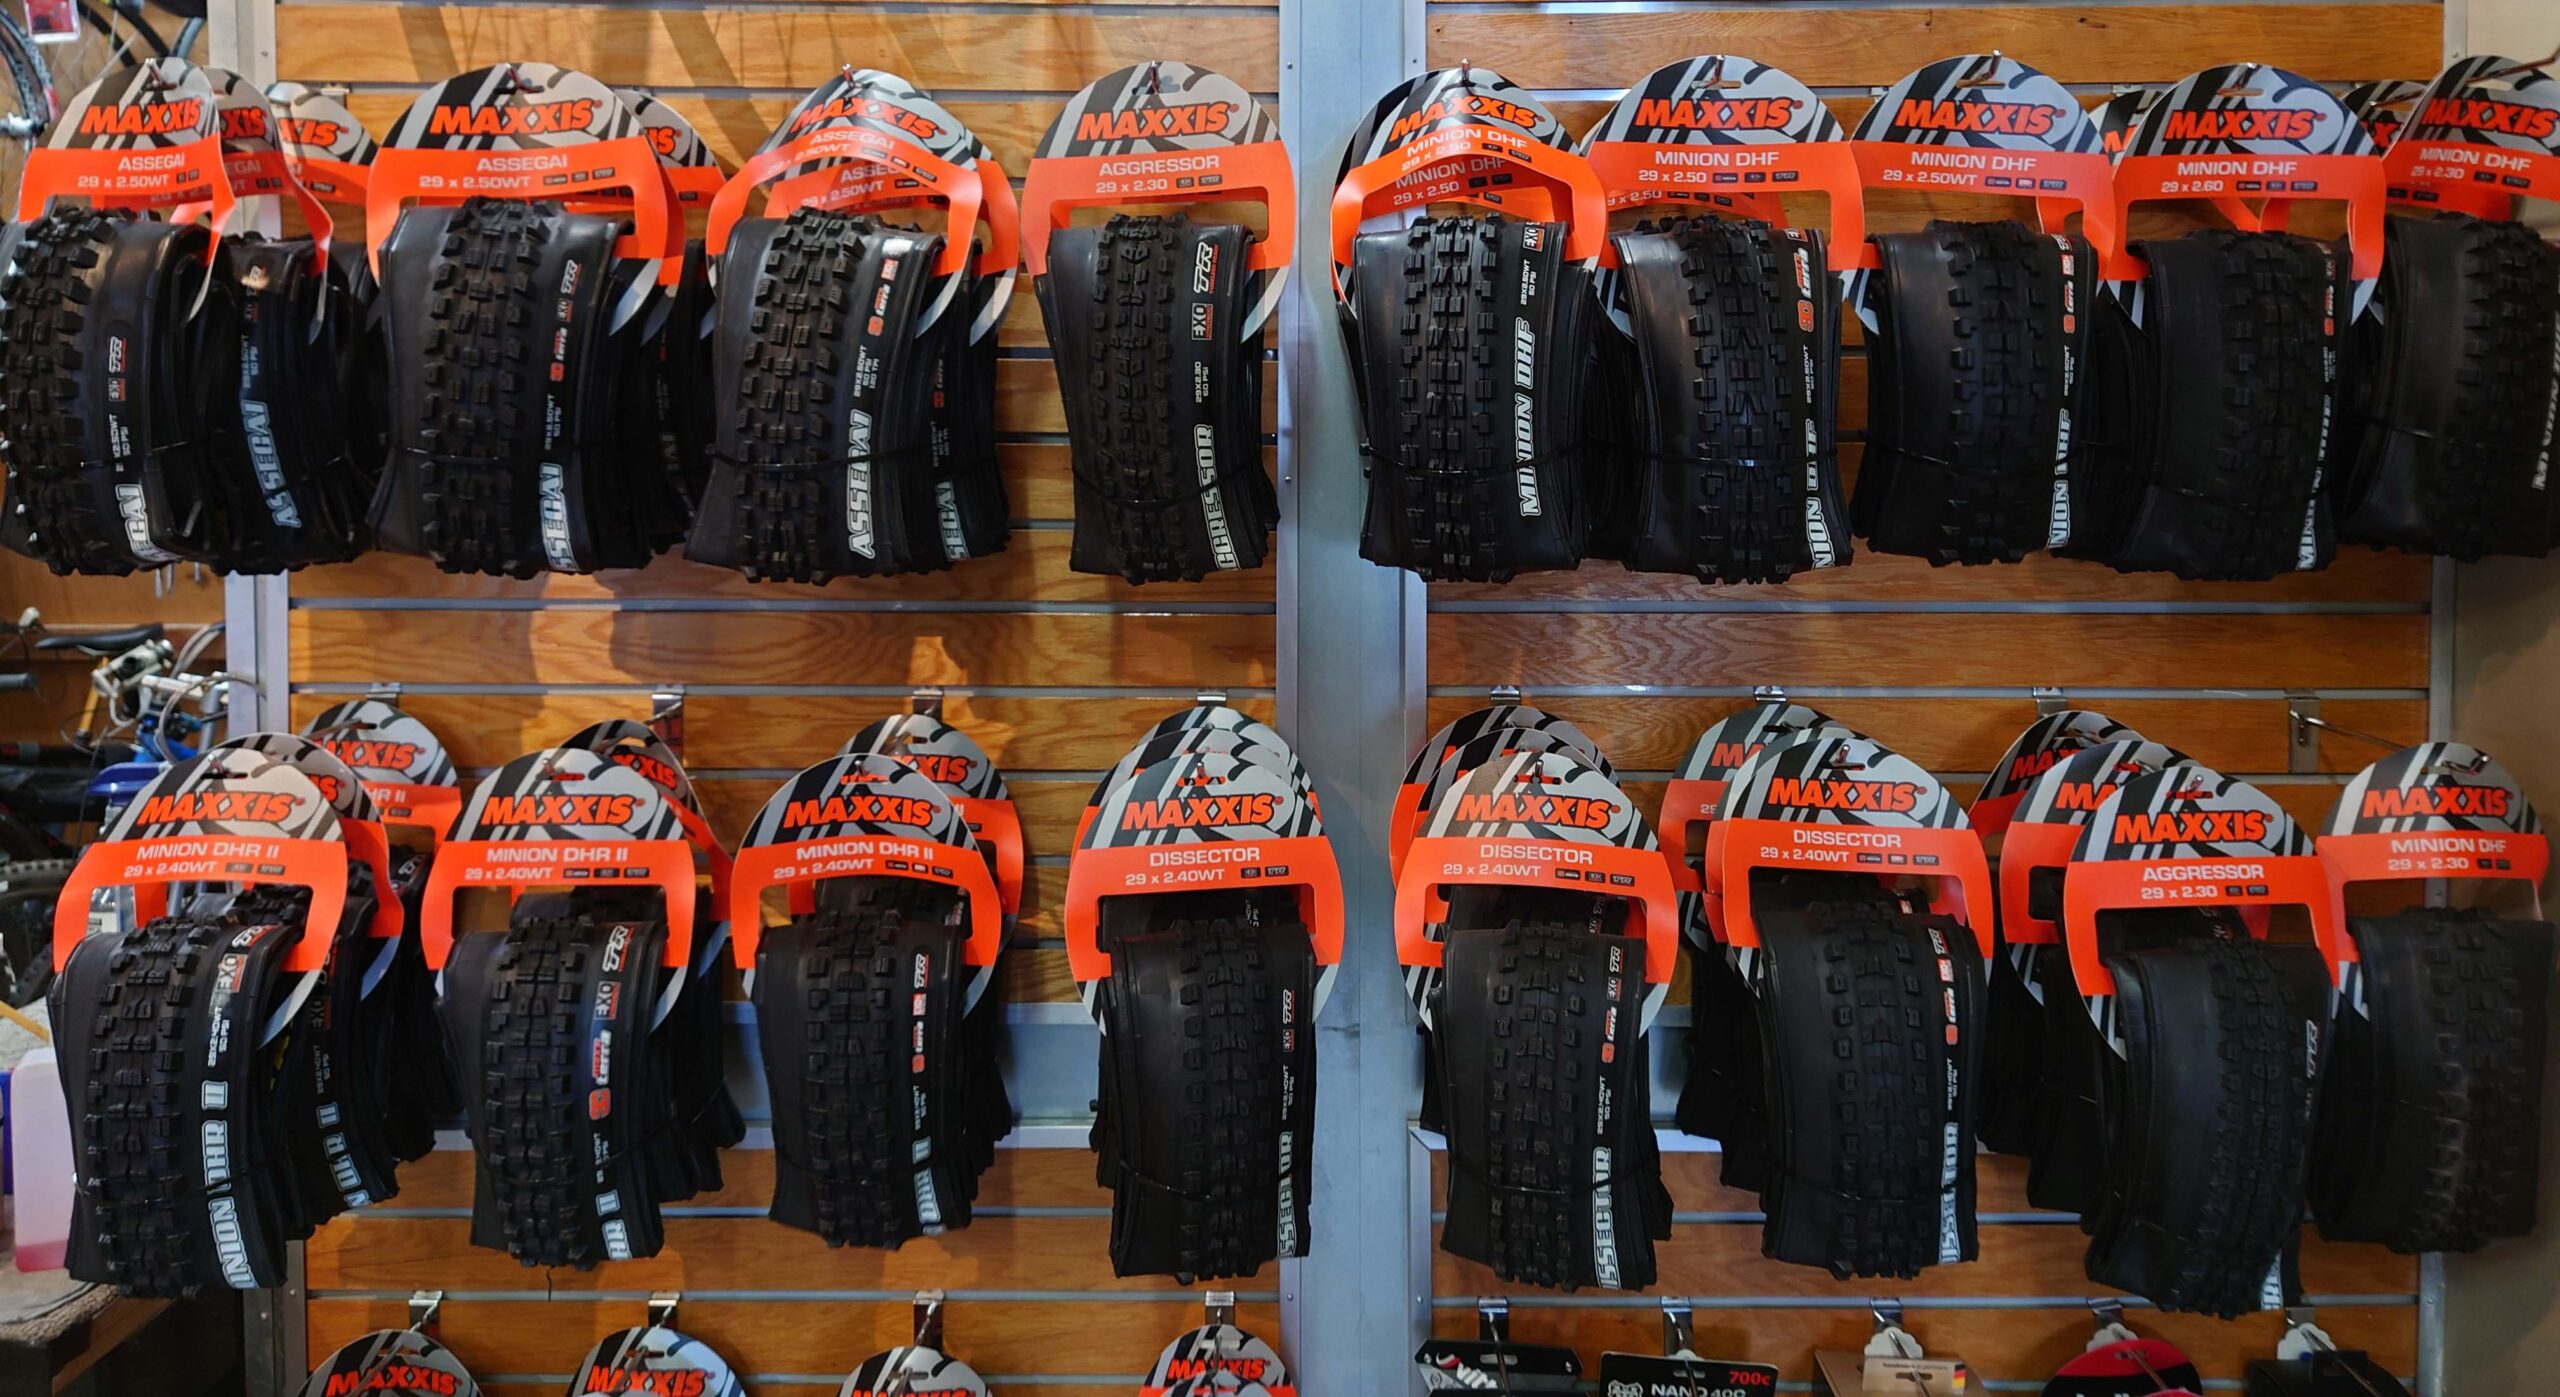
We once heard an incredibly well-known mountain bike engineer refer to Maxxis as the “taco shop of tire manufacturers”: they have a set of key ingredients that are combined in various ways to create distinct products. Like the taco stand, it’s best to understand the ingredients before you choose from the menu. To clarify what all the crazy nomenclatures mean, we have built Sports Garage’s Quick Guide to Choosing Maxxis Mountain Bike Tires and outlined our Shop Picks. It can be pretty tedious, even for someone who works with the products every day.

Triple compound Maxxis tires include a combination of soft, medium, and hard tire material compounds.

Compounds and Treads

In our opinion, the two most important attributes of a tire are the compounds and the treads.
Compounds: The compound refers to the particular blend of materials that goes into the tire’s construction. Maxxis offers single, dual, and triple compound [3C] tires. The different compounds draw out different characteristics in the tires, such as rolling resistance or grip.
Treads: The tread is the part of the tire that makes contact with the ground– the parts of the tire that touch the road or trail. Treads are patterns, which can be symmetrical, asymmetrical, directional, or other designs, and have features like grooves, ribs, nobs, and blocks.
Maxxis can make the same tread design in different compounds, which results in completely different ride characteristics. The unique combinations or compounds and tread features create the vast number of selections. The shop picks that follow focus almost exclusively on dual and triple compounds as they are the most commonly used in your mountain biking tires; a minimum of two distinct rubber compounds create the rolling and grip attributes we need for performance on a broad variety of trail conditions.

Casings and Puncture Protection

Another key tire “ingredient” is the Casing, which is the foundation against which the compound is laid down. While foundation sounds like the source of strength in the tire, it is actually air that holds the tire up. The casing acts like a cushion for the rubber and holds the air. Casings are measured in threads per inch. Lower TPI casings are heavier and more durable, and a higher TPI number is lighter and conforms more easily to the trail.
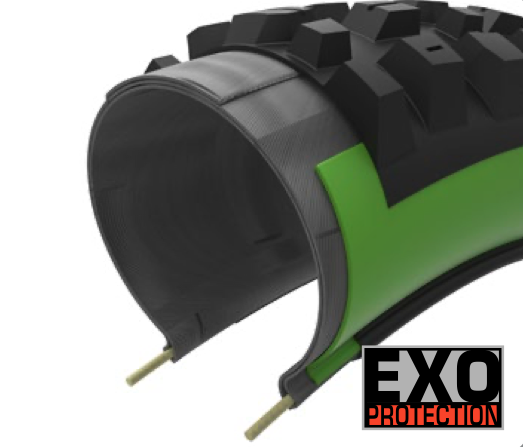
While Colorado isn’t quite the Sonoran Desert, we still have lots of reasons to value Puncture Protection. Maxxis applies proprietary protective layers to their casings to support specific riding disciplines. Each proprietary technology has a unique name, such as MaxxShield or EXO+. This ingredient is self-explanatory: it reduces the likelihood of flat tires due to puncture.

Puncture Protection, such as EXO, is a proprietary feature that makes Maxxis tires more durable.

Lastly, special functions like Tubeless Ready [TR] are ingredients to be aware of. At Sports Garage we rarely, if ever, use Maxxis tires that are not tubeless ready. Assume all our Shop Picks are tubeless ready. 

Shop Picks

Our expert technicians install literally thousands of Maxxis tires every season. Our selections are based not only on our front range testing, but on the feedback from all riders in the SG family: you all sure can ruin some tires! Don’t doubt that you are the best product testers we talk to. As far as we’re concerned, Maxxis makes four tires for the everyday, lifestyle mountain bike rider. We’ve included our best-selling XC tire below as well.

All Mountain Category:

Assegai: The best choice for your front tire, hands down. The Assegai is a little slower rolling than the Minion DHF, but is far superior for traction, transitions, and cornering. Wherever the Assegai is pointed is where your bike is going.

  • Tread: Ideal for cornering control and braking traction
Minion DHR II: One of our top 2 choices for the rear tire. When you read this tire’s description and available “ingredients” on Maxxis’ website, it basically says, “This tire can do anything.”
  • Tread: Wider, more supportive side knobs, center treads designed to accelerate
Aggressor: Another top choice for the rear tire. Favors high speed, dry conditions.
  • Tread: Best as a rear tire for hard-packed, fast rolling trails
Trail Category:
Dissector: The newly released Dissector is awesome. The tire is lightweight with unbelievable traction on the front and rear of the bike. The transition from the center of the tire to side knobs is smooth. However, you do pay a price for the weight savings – while we do love the performance, in our experience they wear out fast.
  • Tread: Designed to minimize drag and maintain control
XC / Cross Country Category:
Ardent or Ardent Race: In recent years, this tire has been eclipsed by the lightweight and capable Dissector. However, our hard-core race fans still appreciate the Ardent Race’s compliant and fast characteristics.
  • Compound: 3C MaxxSpeed
  • Tread: Small, ramped center tread
  • Casing: 120 TPI
  • Puncture Protection: EXO

In all cases but the Ardent and Ardent Race, there are multiple Compound, Casing, and Puncture Protection configurations for all of our shop picks. We’ll discuss your riding style and favorite locations and help you choose exactly the right tire from the extensive menu of the “taco shop of tire manufacturers.” Maxxis tires have become the top choice for bike brands and shop employees for good reason, and choosing the right tire can change your riding experience!

ABOUT SPORTS GARAGE 

Born out of a passion for riding and providing the best possible service and equipment for our customers, Sports Garage has maintained a reputation for exceptional service and product selection since 1994. From the advent of the first disc brakes on mountain bikes to the rise of the dirt road, Sports Garage has been at the forefront of cycling’s best products. Sports Garage is Boulder’s first bike shop dedicated exclusively to alternative surfaces. From dirt road racing, to gravel grinding and adventure cycling, to mountain biking, we take our clients beyond the end of the pavement. We have long held that a bike shop is about the people, the passion, and the proof – not just the products. 

Contact us

Top 5 Winter MTB Rides in the Front Range

If you’re like us, hitting the trails year-round is an urge that needs satisfying. While we love to enjoy our Colorado winters, every once in a while it feels good to hop in the car and find a dry trail and feel the dirt underneath your tires, without making the long trek to the desert. So, we put together a list of our favorite trails to hit in shoulder-season, or when your go-to trails are too muddy to ride.

It goes without saying that we do not recommend riding if the trails are closed. We advise you to check local trail conditions before you head out to avoid doing any damage to trails that aren’t ready. Conditions can vary in the winter, but if the trails have seen a dry weather cycle and plenty of sun, there’s no shortage of fun to be had on the mountain bike in the winter – you just have to know where to look. 

And now,  in no particular order, our top 5 Winter MTB Rides in the Front Range:

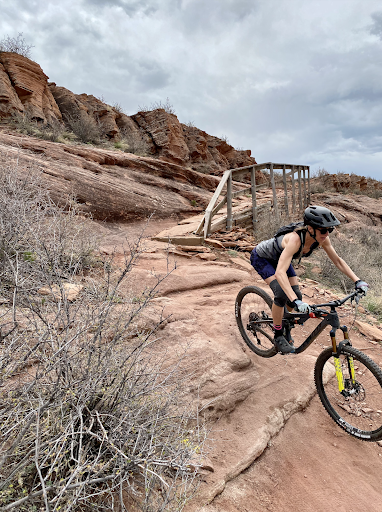
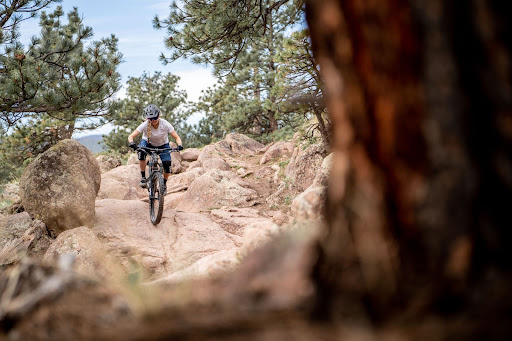
Red rock and technical ledges make up the majority of the trail. 

Devil’s Backbone – Loveland, CO 

While Loveland, CO, may not be the first place on your mind when you think of technical mountain bike destinations, you’ll be surprised if you make the short trip up to Devil’s Backbone and hit this black diamond 13-mile lollipop. 

With plenty of rocky ledges and some sustained off-camber technical climbing and descending, the terrain on the Devil’s Backbone loop feels more akin to riding in Moab than the Front Range. 

The rocky, sedimentary-trail surfaces and wide-open sun exposure means it dries out quickly, making it a worthy day trip for a singletrack fix. 

Left Hand OHV – Boulder, CO

The first rule about Left Hand is… just kidding, the secret’s out about Left Hand OHV and it’s one of our favorite places to ride in the off-season. 

Rest assured, you’ll experience a mixed bag of conditions in the winter at LHOHV, but no other trail system in the front range will give you the type of steep, challenging descents that you’ll find here in the thick of winter. 

The decomposed granite and southern exposure on many trails mean they shed moisture quickly and if you catch it just right, you might even get a little bit of that elusive front range loam. 

Which trails tend to dry out quickest? Our winter go-tos are: Bon Scott, ODB, GZA & Skinny Peat.

LHOHV on a particularly dry January day.  

Pick a line, any line. You’ll thank us later. 

Bitterbrush Trail (Hall Rock Garden) – Lyons, CO

This one will come as no surprise, but the Bitterbrush Trail at Hall Ranch can be a ton of fun in the winter. It commonly dries out a few days after a snowstorm and while it may be a short section of trail, winter rides in the Rock Garden present a great opportunity to session lines and work on those technical skills, both uphill and downhill. 

Be mindful of trail closures and stick to the rock garden when other trails at Hall are snowy. There’s no shortage of fun to be had, and those technical skills you sharpen during those sessions will pay off later on in the year.

Erie Singletrack – Erie, CO

We may be spoiled with Valmont Bike Park in our backyard, but the bike park in Erie is an absolute blast. With progressive trails ranging from beginner right on up to a black diamond expert line, there’s something for everyone to enjoy a couple hours of riding. 

The drive is under 30 minutes from Boulder and Denver, and the wide-open exposure to the sun means it’ll be one of the first trail systems to dry up. Complete the afternoon with a stop in Downtown Erie and hit one of their great restaurants or coffee shops that make the trip worthwhile.

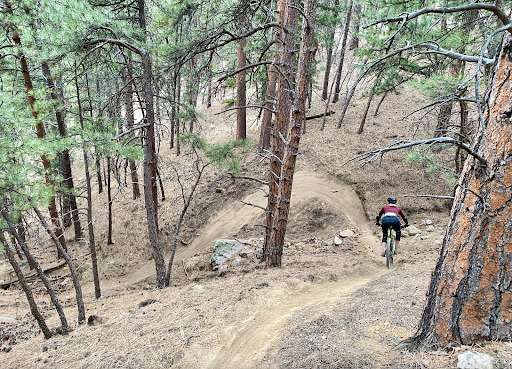
Captain Jack’s – Colorado Springs, CO

This is perhaps the best bang-for-your-buck day-trip on this list. With a scenic climb and a world-famous ripping descent, you can combine a few trails for a true classic loop with easy navigation and a ride that’s worth the trip to Colorado Springs. 

The soil on Captain Jack’s is a gravely, kitty litter consistency that tends to dry very quickly, and even the spots that hold snow tend to pack down and allow for dry winter riding. This ride does hit over 8,000’ so make sure to check conditions before you go, but if you manage to ride Captain Jack’s when the dirt is tacky, you may never consider this a summer ride again.

ABOUT SPORTS GARAGE 

Born out of a passion for riding and providing the best possible service and equipment for our customers, Sports Garage has maintained a reputation for exceptional service and product selection since 1994. From the advent of the first disc brakes on mountain bikes to the rise of the dirt road, Sports Garage has been at the forefront of cycling’s best products. Sports Garage is Boulder’s first bike shop dedicated exclusively to alternative surfaces. From dirt road racing, to gravel grinding and adventure cycling, to mountain biking, we take out clients beyond the end of the pavement. We have long held that a bike shop is about the people, the passion, and the proof – not just the products. 

Contact us
Skip to content